Showing posts with label Master Bedroom. Show all posts

Tuesday, 30 April 2013

Flower Curtain Tiebacks

While I was making the slip covered headboard I was inspired by some drapes in a high end design house that had these beautiful organza flowers on them that I simply couldn't afford but coveted!

I started to think that those flowers would be beautiful but really not for the casual summer look I have created for the master bedroom so off on another tangent I go . . . searching the Internet for ideas . . . fabric flowers . . . hey I know I'll make the twisted fabric flowers like the ones I had previously made in a fascinator I wore to the Christmas Party a couple of years ago . . . and again I head off to my favourite fabric store and it's CLOSED . . . damn . . . back home you go, but not before passing a Walmart . . . Oh Oh! ! ! Yes I stopped in because they do carry craft fabric and I needed cotton so I ventured in . . . and I FOUND SOME . . . exactly in the colours I was looking for . . . oh the small things that get me excited . . .


I knew I had some felt at home to adhere the fabric to so started with these supplies:

1.  Scissors
2.  Felt
3.  Fabric
4.  Hot Glue and Gun
5.  Needle and Thread (option)

You start with a strip of fabric approximately 15"  x 3"(for large);  12" x 2" (for small) and fold in half (wrong sides together).  NOTE:  There is no need finish off any of the edges - this project is rough cut.  Cut the felt circles approximately 3 1/2 " for the large flowers and 2 1/2" for the smaller ones.

1.  Fold down in at an angle

2.  Put a dab of glue in the centre of the circle of the felt

3.  Attach the first "knot"


4.  Start rolling or folding the fabric either towards or away from yourself - it doesn't matter as long as you are twisting in a circle


5.  Hot glue down as you go

6.  Clip off the excess felt if you have any


7.  Hot glue the end piece (underneath)

8.  How glue all "flowers" to another piece of felt (cut in a strip) and cut away the excess after everything is glued down.  Attach ties to either end (I glued mine down - you can sew them if you wish)

And Voila


TOTAL COST: $13.00 (not including felt and glue - I already had that)
TOTAL TIME:  3 hours (included burning my thumb several times with the hot glue and yes that's why I'm wearing a bandaid) (if you are not picky it could take 2 hours)

Saturday, 27 April 2013

Slipcovered Headboard

For the first time last winter I got a "real" headboard (with the rails and end pieces) and while some of you might not think that's exciting . . . to me it was.

I've always wanted a really nice headboard but when I moved into this house 7+ years ago there were way too many other things that needed to be attended to so I opted for a fake wrought iron one that cost somewhere to the tune of $149.00 and that was sufficient . . . until I got it in my head I needed something more substantial.

If you will remember the pictures from the new carpet . . . and here it is (that is a picture of the winter bedding) and the winter bedding is nice but really it is spring and I do change out the bedding in the fall and spring . . .


I had no intention to buy new spring bedding this year (and clearly it was my inspiration) AND because I now have the new headboard I thought covering it for the summer might be a nice touch . . . so off I go to my favourite fabric store, with one of the pillow shams for reference in hand, and after much debate in the "regular" stuff I find myself, once again, in the clearance section. . . oh how I love it there . . . and of course . . . I find EXACTLY what I'm looking for . . . turquoise and orange . . . PERFECT!

Now to make a pattern . . . measure width X height (x2 for front and back) and roughly sketch the side pieces and away I go . . . I had initially wanted piping along the sides but when I had the fabric draped over the headboard during the creative process I kind of liked what it looked like with bands of the orange on the sides so measuring the turquoise (plus 1/2 inch for seams on either side) and adding the band (plus 1/2 inch for seams on either side) PLUS the piece for the middle and off to Bertha I go . . . yes Kenzie had to test out the fabric - doesn't she always . . .

and here some of the pictures in the sewing process:

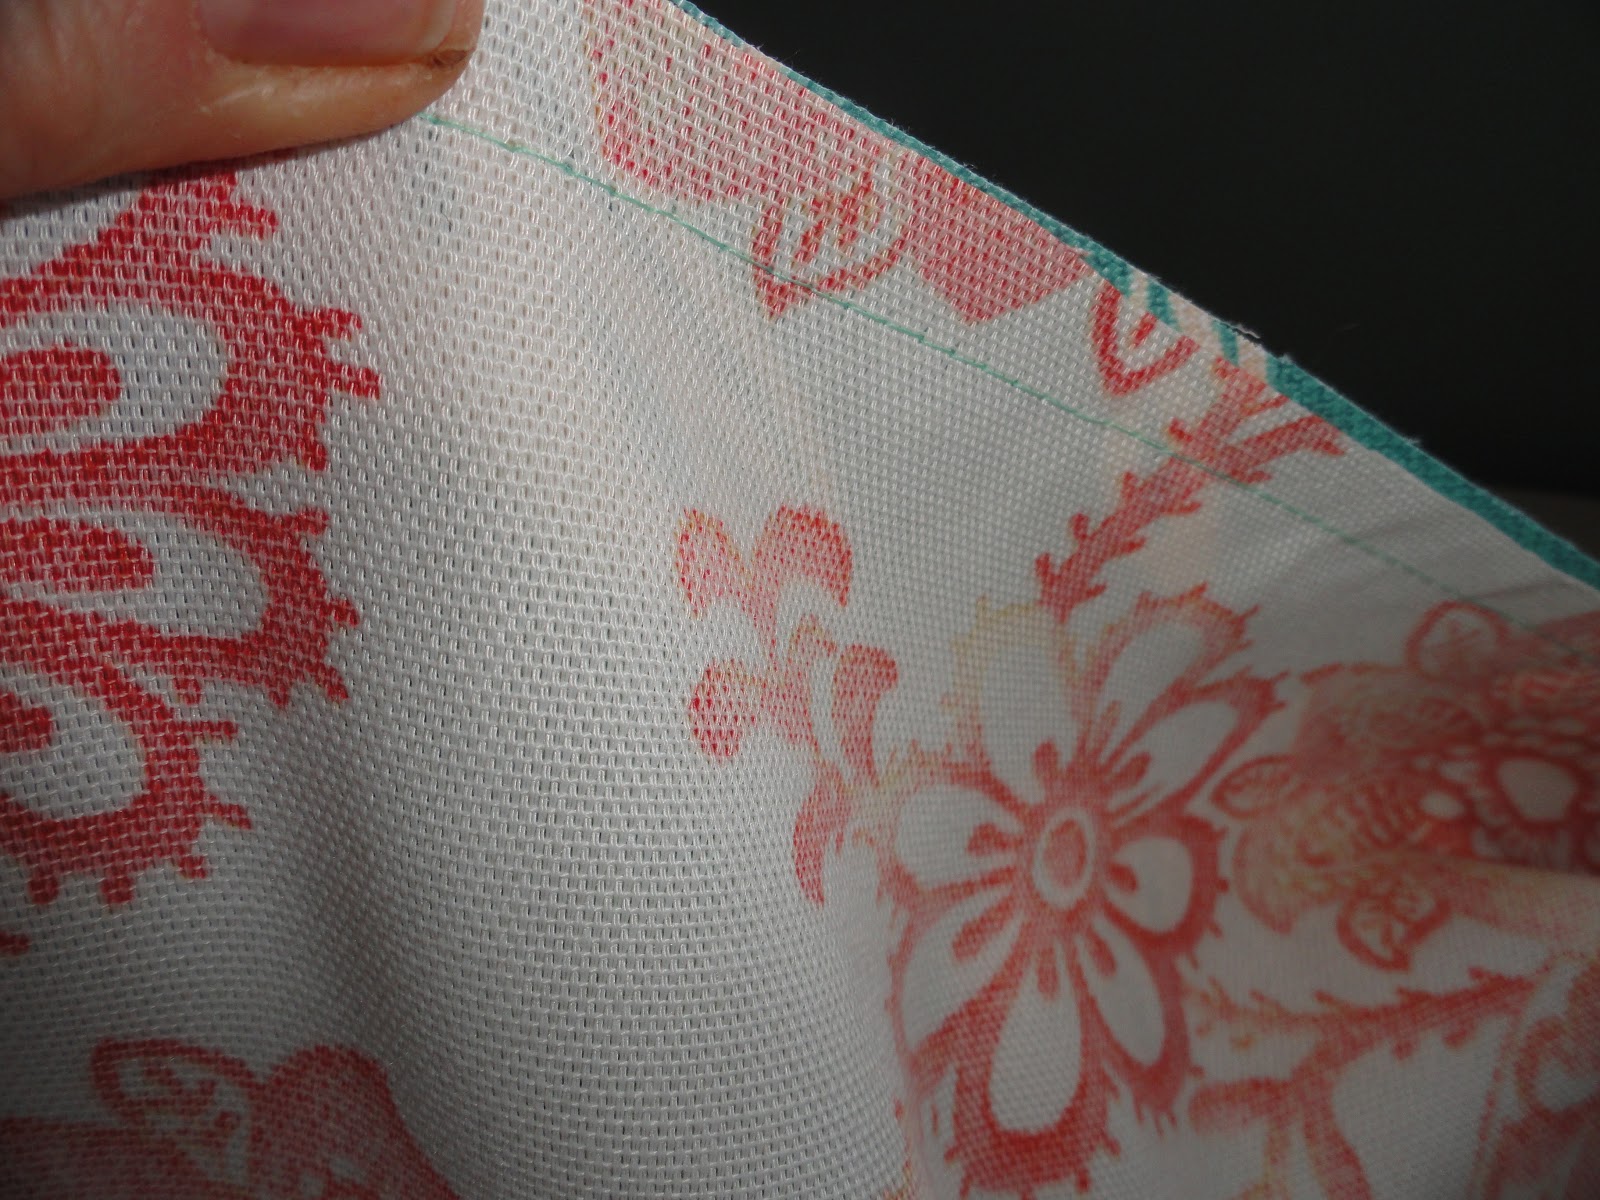
sew the turqouise to the orange and add lining to the back (no one will ever see it)


cut out the side pieces and sew from bottom to top, all the way around the curve (which was miserable to say the least) and back down the back; serge all seams including the bottom (no hem - not necessary) 

Leave opening in the bottom to slip over the headboard and VOILA


And if that wasn't enough I broke down and purchased new shams and a light blanket to match AND made tie backs for the curtains (check out this weei's bonus blog)!

Here is the finished product:


TOTAL COST:  Headboard Fabric $23.95; Bed Cover and Shams $62.00 (the rest I had from last year.
TOTAL TIME:  4 hours (including measuring and figuring out the fabric pieces)


Tuesday, 29 January 2013

Bonus Blog No. 1 - Master Bedroom Carpet

Well I promised some bonus blogs and here's no. 1.

I got home tonight in -26 (-38 with the wind chill or something ridiculous like that) and let the dog out (I said to her this morning  ... I'm sure glad I don't have to go outside to pee) ... checked for the mail and I found my new bedroom carpet (purchased online) on the front porch ... I LOVE IT!

Eat FAST and upstairs to get it in place.

Previously I'd had two very small (but beautiful and I'm being honest) green shag carpets I'd snagged (well paid for) second hand from my sister that I've really just "made do" for quite some time.  I've ALWAYS wanted a turquoise carpet in the bedroom (and I have summer bedding to show you why some time in the Spring - usually March).

Anyways ... did I think I was going up there to have a workout ... no ... but I DID ... if you are like me and you like doing everything the hard way first ... that's exactly what I did - and, proudly, by myself.  I tried to get the carpet under the queen size bed with headboard, rails and footboard without taking anything off ... then ... maybe I'll just take off the bedding ... nope ... how about the mattress ... nope ... how about move the entire frigging bed including boxspring out of the room and start empty ... did I just about pee my pants ... yes ... thank God for depends ... you try and lift a bed with everything on it and see what happens LOL ... and sweat my false eyelashes right off ... but it's done and here it is!


No, I didn't take before pics ... as I said eat FAST and get it done ... I only wish I knew how to take better pictures (I see a class for this in my immediate future)!

NOTE TO SELF . . . next time turn the ceiling fan on BEFORE you get started!

TOTAL COST:  $329.00 plus GST
TOTAL TIME:  1 Hour