
I've always wanted a really nice headboard but when I moved into this house 7+ years ago there were way too many other things that needed to be attended to so I opted for a fake wrought iron one that cost somewhere to the tune of $149.00 and that was sufficient . . . until I got it in my head I needed something more substantial.
If you will remember the pictures from the new carpet . . . and here it is (that is a picture of the winter bedding) and the winter bedding is nice but really it is spring and I do change out the bedding in the fall and spring . . .

I had no intention to buy new spring bedding this year (and clearly it was my inspiration) AND because I now have the new headboard I thought covering it for the summer might be a nice touch . . . so off I go to my favourite fabric store, with one of the pillow shams for reference in hand, and after much debate in the "regular" stuff I find myself, once again, in the clearance section. . . oh how I love it there . . . and of course . . . I find EXACTLY what I'm looking for . . . turquoise and orange . . . PERFECT!
Now to make a pattern . . . measure width X height (x2 for front and back) and roughly sketch the side pieces and away I go . . . I had initially wanted piping along the sides but when I had the fabric draped over the headboard during the creative process I kind of liked what it looked like with bands of the orange on the sides so measuring the turquoise (plus 1/2 inch for seams on either side) and adding the band (plus 1/2 inch for seams on either side) PLUS the piece for the middle and off to Bertha I go . . . yes Kenzie had to test out the fabric - doesn't she always . . .

and here some of the pictures in the sewing process:
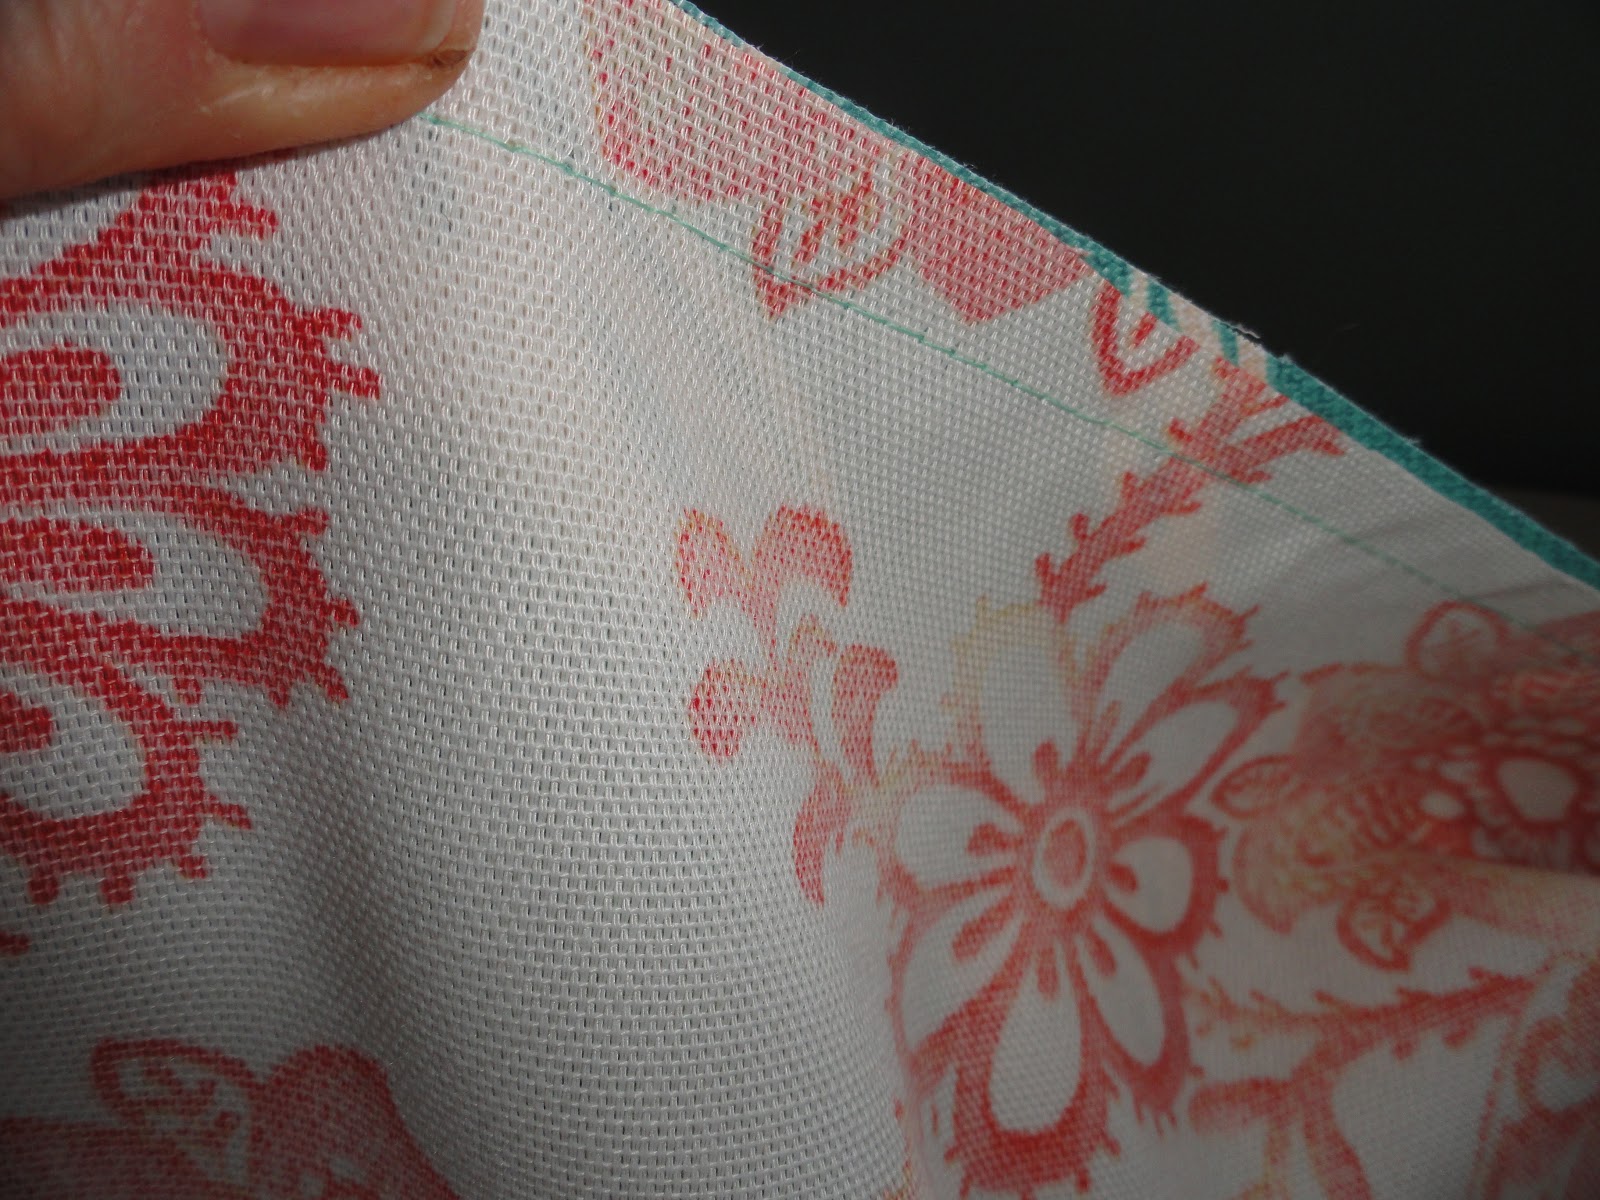
sew the turqouise to the orange and add lining to the back (no one will ever see it)


cut out the side pieces and sew from bottom to top, all the way around the curve (which was miserable to say the least) and back down the back; serge all seams including the bottom (no hem - not necessary)

Leave opening in the bottom to slip over the headboard and VOILA


And if that wasn't enough I broke down and purchased new shams and a light blanket to match AND made tie backs for the curtains (check out this weei's bonus blog)!


Here is the finished product:

TOTAL COST: Headboard Fabric $23.95; Bed Cover and Shams $62.00 (the rest I had from last year.
TOTAL TIME: 4 hours (including measuring and figuring out the fabric pieces)
No comments:
Post a Comment