Sunday, 8 September 2013

Out with the old . . .

I've lived in my beautiful 775 sq. ft. home for over 8 years now.  I lived with some really ugly IKEA tab curtains for the first couple of months until I could figure out what to do . . . and at that time I was making all kinds of things out of scrap pieces of upholstery fabric (made at least two blankets) and I made a patchwork blind for the kitchen.


It's survived 7+ years, I'm bored and I saw an awesome piece of fabric at my favourite fabric store and got busy.

I used the same method I did for the original blind (roman) using simple math . . . although math is not my strongest point and I was out about 2 inches on both sides because I probably got distracted and measured once and cut instead of measuring twice and cutting once . . . pisses myself off!

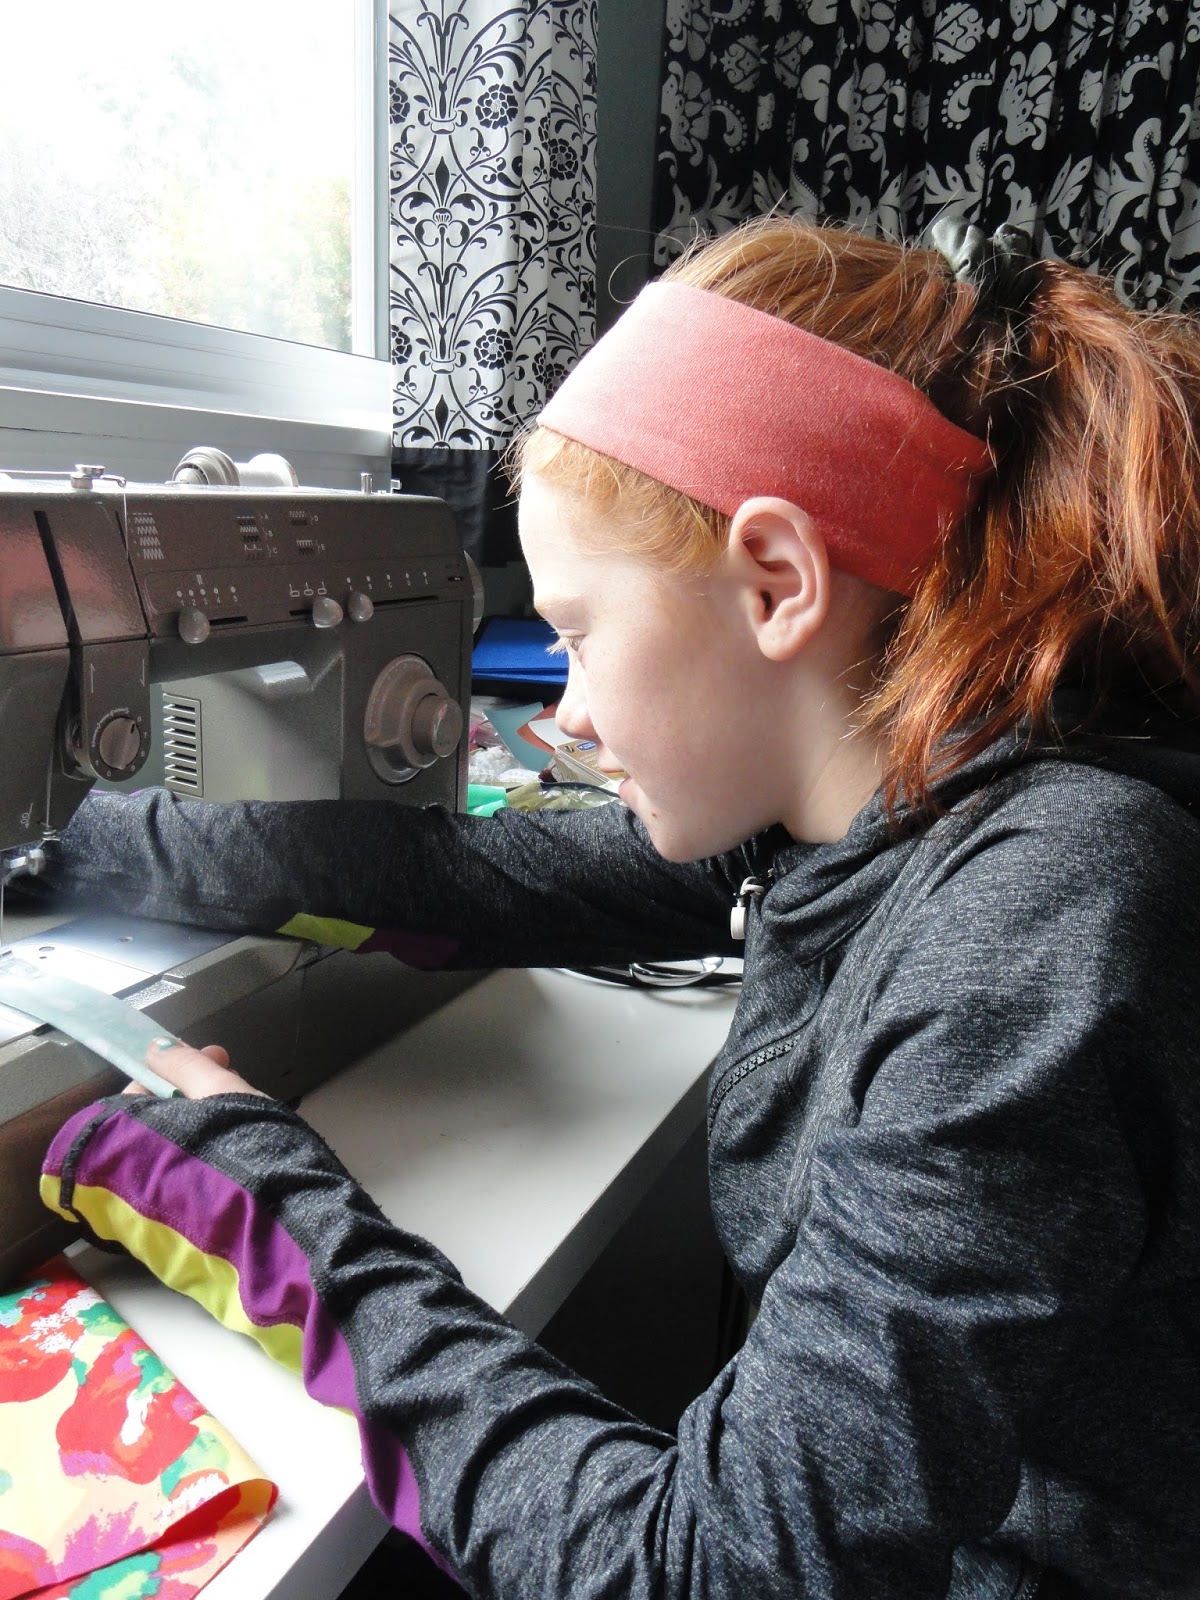
But they're done and here's the proof!  My most awesome sister was there to help!

Obviously I sewed them first - added (not enough) inches to either side and to the top and bottom and lined them.  Then I sewed roman blind loops in four evenly spaced sections and ran nylon thread through the loops.  Then secured them at the end with a special knob with a hole in the end, knotted the nylon thread and because the cleat was still there from the old roman blind I didn't need to add that.  I also kept the pieces of wood from the old blind (top and bottom).  The old blind is going to the condo in Radium and they will never be opened or closed so it wasn't necessary for my sister to keep that and I needed them to keep my costs down.  She had a piece of wood at home to use for the top so all was good.


I stapled the top of the blind down to the 1X2


I covered the exposed end with a scrap piece of fabric so you couldn't see the wood

Made sure it was level (and it was)

Screwed the old piece back over the window in the same place as the old one

And Voila! - I think they are awesome - the walls are yellow but you can't tell in the picture!

No sooner did my sister leave and the loop at the end broke (they are all plastic) so I had to replace it with a metal one!

TOTAL COST:  $62.00
TOTAL TIME:  Sewing - 4 hours; Installation - 1 hour (I had to remove the staples from the old blind so I could reuse the wood)


Shower Gift . . . Date Night Theme

With three weddings coming up it was inevitable that I would get invited to a shower . . . a themed shower no less . . . Google . . . LOL . . . what to do . . . and found some cute ideas but I refuse to pay as much for a shower gift as I would for a wedding gift so I needed to get a bit creative finance-wise. Date night . . . doesn't always have to be about "going out" somewhere . . . so how about a date night at home - movie night (I'm hoping Netflix if they have it) . . . Here's what I came up with . . . A nice bowl, three kinds of popcorn, Twizzlers, M&M's and some paper napkins and Bob's yer uncle!


Wrapped with bridal netting and a silk flower that had an elastic on it!


TOTAL COST: Not to be disclosed . . . it was a gift . . . but it was well within my budget.
TOTAL TIME: 1/2 HOUR!

Sunday, 1 September 2013

Retro Bathroom Chair Recover . . .

I have to admit I don't do a lot of projects with my mother because I kind of "take over".  She asked if I would help her recover a "small chair" she had in her bathroom and when I asked her what kind of chair was she talking about she said . . . it'll be easy for you . . . So I told her if she stripped the old one and cleaned it I'd help.

We went to our (well my) favourite fabric store and with measurements in hand we purchased .5 metre of fabric and she actually stripped the old chair but took quite a few breaks getting the old staples out . . .she says it took her three days in between rests . . . LOL!

She also purchased some foam and today we purchased all of the hardware and I had some left over batting to put over the foam before we reupholstered the two "cushions".

Here are t he steps she/we took.

Chair Before - pleather!

Saved the 3/8" plywood

Supplies (see below for list)

Step 1 - cut batting 2" larger than foam/plywood
Step 2 - Staple down  - note I do four "corners" first then graduate in between

Step 2 - voila
Step 3 - repeat steps 1-2 for smaller 

Step 4 - cut fabric 2" larger than cushion 

Step 5 - Staple down (same as batting BUT cover the batting

Step 6 - cut excess fabric away

Step 7 - do the same for the smaller cushion - NOTE the screw in the centre of the back cushion - to be discussed later
Step 8 -  Cut some batting (or whatever you choose to place on the bottom) (black paper was used on the original - Mom says)

Step 9 - Cut one piece for the back of the top cushion 1/4" larger than the cushion itself

Step 10 - Sew down 1/4" with sewing machine

Step 11 - I stitched this down by hand - you can glue if you wish

Step 12 - Screw the "button" back on the back

Step 13 - We think we are brilliant - this is electrical brackets, washers and 3/8" wood screws


We placed the brackets in six places

Step 14 - Attach the floor protectors to the four legs

Close up of finished product

 Beautiful!
LIST OF SUPPLIES:
Fabric:  $7.00
Foam:  $2.00
Batting:  Free - I had it in my arsenaul of fabric
Hardware:  $10.33
Chair:  $2.00


TOTAL TIME:  Mom: 3 days; Me: 1.5 hours
TOTAL COST:  Chair - $2.00 (Garage Sale); Supplies:  $21.33

Not back for a Sunday afternoon project

Mom's advice . . . If you think you want to become an upholsterer - take a class or hire it out to someone! !

Sunday, 25 August 2013

Two Sunday morning projects!

I have always said . . . I never have nothing to do . . . today is no exception . . . I especially love it when I'm cleaning something up and I find a treasure . . .

PROJECT 1:

While I was cleaning out a jewellery tray on my dresser in my bedroom I came across a bracelet that my mom gave me quite some time ago - and not that I have large wrists but I don't like a bracelet that is too tight!

Two jump rings and my trusty pliers later I have a new necklace!


TOTAL COST:  ZERO

PROJECT 2:

I was in need of a new pair of runners (for walking and riding my bicycle) and I was having a lot of difficulties finding a pair I liked in my size (it is after all going back to school sales time).  Mom and I tried to find one pair and get the second for 50% off but we both couldn't find a pair we each liked so moved on to the next store.  I found a pair of Saucony's at United Cycle for a really good price (probably last year's model) but I wanted coloured laces - so I was on the hunt at lunch time last Friday and found some (fluorescent orange AND pink - chose the pink for now).  I think it turned the runners into something quite flashy!

Original laces on the left - new ones on the right!
TOTAL COST:  $6.00 for the laces

Monday, 19 August 2013

An Apron for one Please!

I love a little "Anna Time" - as much as we can (usually once a month or so) I have the privilege of hanging out with my niece Anna - she has four brothers so we always love our time together and I really try and make a point of planning something.

And here she is in all her glory!


Last week was Anna's birthday and  . . .  I forgot . . . I had to be reminded by her mom when she called to ask how my recovery was going . . . I felt bad but we got together the next day for burgers and fries and were going to take a visit to Ardene's or Claires for the 2/$10 or 3/$15 but ended up in the fabric store for another project I am working on for a "Crafternoon in Radium"!  While we were there we spotted an apron and we kind of both went . . . hey . . . what about making an apron . . . YA - Good Idea . . . so off to the coloured cotton we went.

After much contemplation we found three co-ordinating fabrics and I "guessed" at how much fabric we needed based on another pattern we were looking at and ended up with the following:

.7 M of the red/yellow floral
.2 M of the ruffled pink/yellow
.3 M of the green polka dot


We also used scissors, measuring tape, pins and the Ever Faithful Bertha!

We measured the following pieces:
1.  12" X 6 1/2 (for the bib) (floral)
2.  6 1/2 X 6 1/2" for the ruffled insert
3.  2" X 25" for the neck strap (green polka dot)
4.  3" X 45" for the side ties (Cut 2)
5.  3" X 9 1/2" for the lower part of the bib (green polka dot) (Cut 2)
6.  7" X 5 1/2 " for the pocket  (Cut 2) (we rounded out the bottom with a plate) and trimmed it with a pink ruffle
7.  45" X 17 1/2 for the skirt

It was a bit of a challenge without a pattern to get the bottom of the bib and the ties to be right but after three tries we got it - I'll try and explain

1.  Take pattern piece 1 and 2 and sew on the 6 1/2 " sides;
2.  Take the 2" X 25" piece and sew on the 25" side then open to the centre and close up one end
3.  Take the sewn neck piece and place in one corner of the top of the bib
4.  Sew the top of the neck shut
     PRESS everything down
5.  Sew pattern pieces 5 to the BOTTOM of the bib and press open
6.  Sew pattern pieces 4 (separately) and close up one end leaving the other end open about 5 inches
7.  Now take the open piece of the tie and sew it down to each side of the side parts of the bib
     PRESS DOWN
8.  Take pattern piece 7 and hemming the sides by folding in 1/2" then 1/2" again and stitching down on both sides
9.  Hem the bottom of the skirt by folding in 1/2" and then 1" and stitch down
     PRESS DOWN
10. Take a gathering stitch across the top and gather to approximately 18" to fit on the open side of the under part of the bib and ties
11. Stitch down and close up
12. PRESS DOWN
13.  Sew both parts of the pocket together with a piece of the ruffled fabric in the top (very much like placing piping on a pillow) and then sew on the skirt part of the apron anywhere you feel is appropriate (Anna wanted hers on an angle)
    PRESS DOWN


And yes she sewed MOST of it . . . I did the hard parts . . . but she's well on her way to following in her Auntie's footsteps and we had an awesome time!

TOTAL COST:  $12.00
TOTAL TIME:  Cutting:  30 minutes; Sewing:  1.5 hours

Saturday, 17 August 2013

Three Upcoming Weddings . . . and a unique piece of sumpin sumpin!

I have to attend three weddings this fall; one is for a former co-worker (the person I view as being my little sister) in September, one for my niece (in October) and one for another very good friend in November.  I was mulling around The Bay last week and thought I would try on a few dresses (they had a LOT on sale) and I thought really . . . if I tried on 8 I might like at least one . . . well I did but it was the only one from the "fall fashion line" and was NOT on sale . . . oh dear . . . what to do, what to do . . . well I bought it . . . at full price . . . something I RARELY do but I considered how many times I was going to wear it and in how many different ways . . . and could I wear it to work afterwards . . . and . . . you know that means I talked myself into it but promised I would wear it all three times . . . but I needed some chunky hunky jewellery for it so started asking around if anyone had something I could borrow . . . nothing sounded "promising" and honestly I didn't really even go and look but after my visit to the doc I stopped at my favourite fabric store and they had all of their beads on sale . . . 50% off . . . so I started to create something in my mind and bought this . . .

I had to purchase a couple of other things (chain and the pins that go through the beads) but the rest I had in my arsenal of beads!

And today I made this . . .


I'll wear this with the finely knit teal dress, brushed satin charcoal jacket, black shoes and a copper purse!

Would I make more jewellery? maybe . . . it's been a long time since I was making it out of femo and friendly plastic  but I have done some bead work before . . . this was a special occasion, I got exactly what I wanted and I paid a lot more than I would have if I had of borrowwed something but I now have a piece that unique and custom - EXACTLY what I wanted - here's hoping it stays together after the dancing has begun!

TOTAL COST:  $38.00
TOTAL TIME:  2 HOURS

Sunday, 11 August 2013

I've been away . . . sorta!

While one might think I've been ignoring my blog . . . I haven't!  I've been a bit under the weather.  After over six weeks of having some "not so bad" and some very "severe" gall bladder attacks I was taken to the Emergency Room two weekends ago by Ambulance (and released) and last weekend by my very accommodating brother (and admitted).  I underwent gall bladder surgery and have been at home now for a week trying to recuperate.  And that I am . . . but in the meantime I cannot lift, pull or push anything over 10 pounds (sorry Kenzie) for the next six weeks.  Furthermore, when you are medicated, your creative mind is not so great . . . consequently I've done nothing but sleep, drink and eat. 

I'll be back shortly - I have some more ideas brewing but my focus has now resorted to getting well.

CYA soon!

Flowers from my Boss

Flowers from my Brother, his wife, their daughter/husband and the King!

Flowers from my Office

One Rose plucked from the flowers from my brother et al