Tuesday 29 January 2013

Bonus Blog No. 1 - Master Bedroom Carpet

Well I promised some bonus blogs and here's no. 1.

I got home tonight in -26 (-38 with the wind chill or something ridiculous like that) and let the dog out (I said to her this morning  ... I'm sure glad I don't have to go outside to pee) ... checked for the mail and I found my new bedroom carpet (purchased online) on the front porch ... I LOVE IT!

Eat FAST and upstairs to get it in place.

Previously I'd had two very small (but beautiful and I'm being honest) green shag carpets I'd snagged (well paid for) second hand from my sister that I've really just "made do" for quite some time.  I've ALWAYS wanted a turquoise carpet in the bedroom (and I have summer bedding to show you why some time in the Spring - usually March).

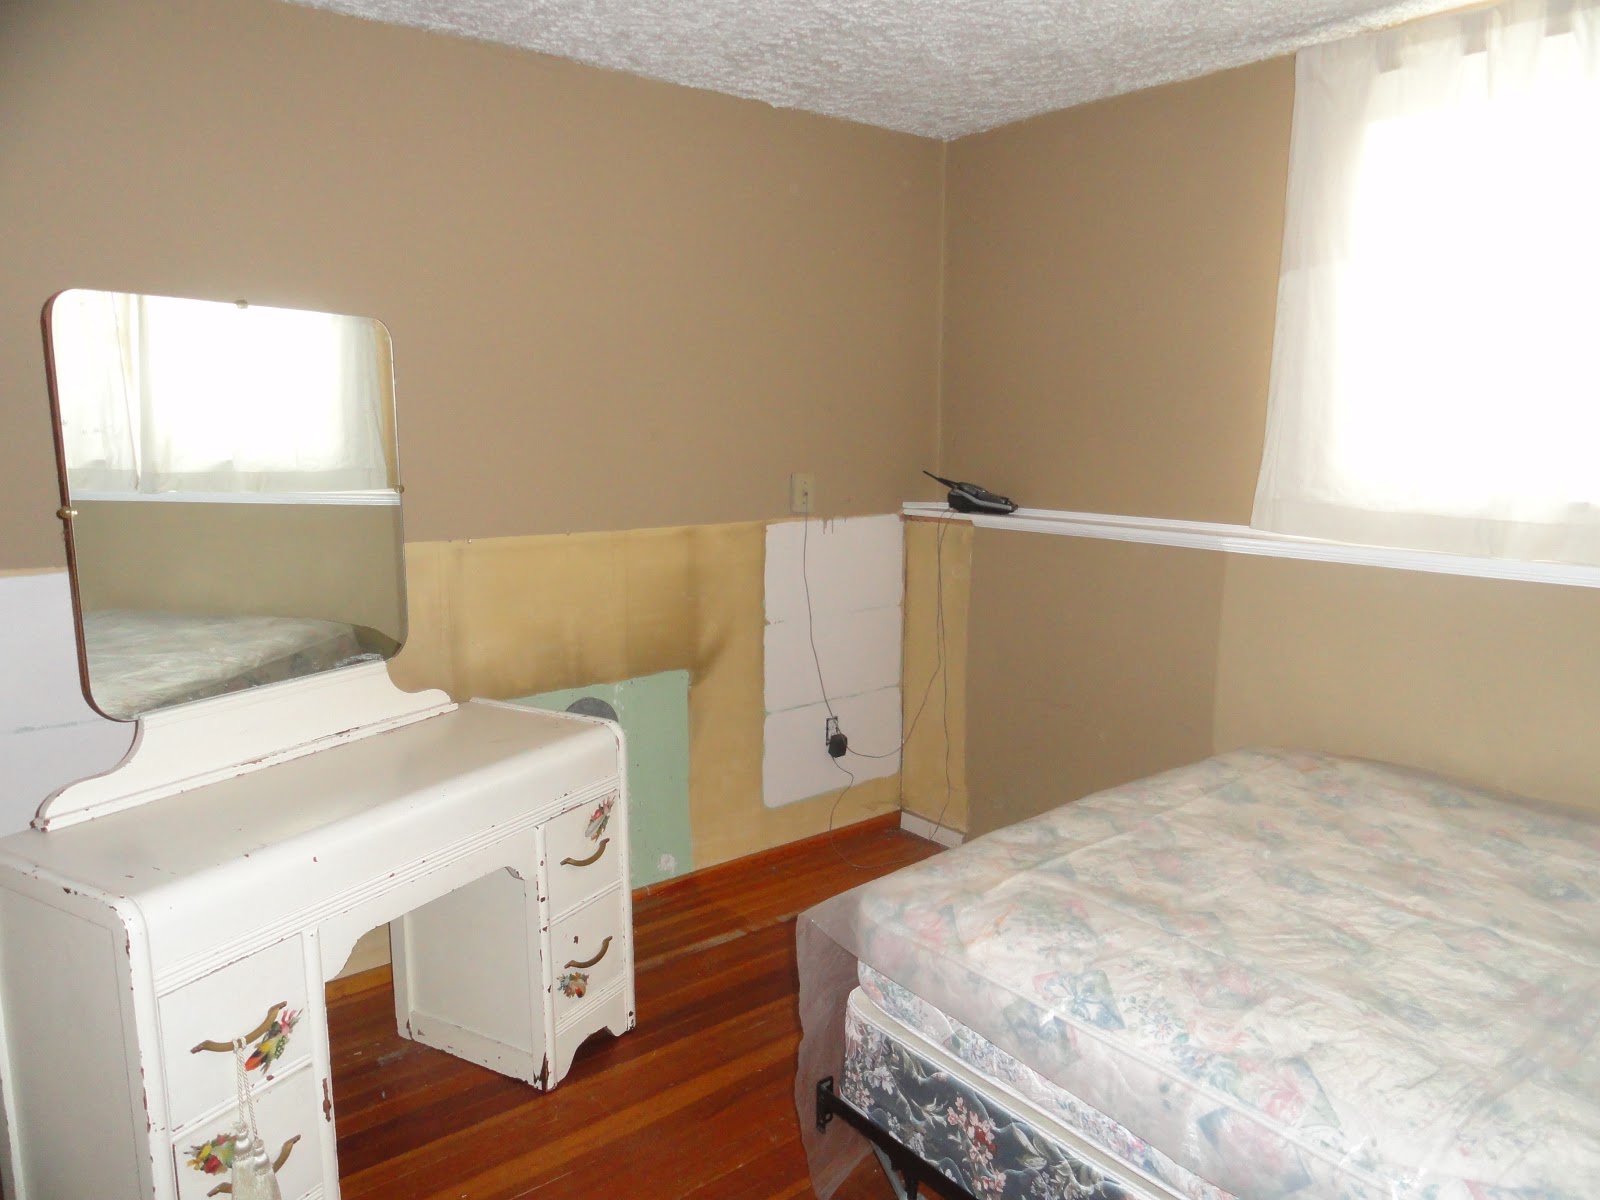
Anyways ... did I think I was going up there to have a workout ... no ... but I DID ... if you are like me and you like doing everything the hard way first ... that's exactly what I did - and, proudly, by myself.  I tried to get the carpet under the queen size bed with headboard, rails and footboard without taking anything off ... then ... maybe I'll just take off the bedding ... nope ... how about the mattress ... nope ... how about move the entire frigging bed including boxspring out of the room and start empty ... did I just about pee my pants ... yes ... thank God for depends ... you try and lift a bed with everything on it and see what happens LOL ... and sweat my false eyelashes right off ... but it's done and here it is!


No, I didn't take before pics ... as I said eat FAST and get it done ... I only wish I knew how to take better pictures (I see a class for this in my immediate future)!

NOTE TO SELF . . . next time turn the ceiling fan on BEFORE you get started!

TOTAL COST:  $329.00 plus GST
TOTAL TIME:  1 Hour

Saturday 26 January 2013

Closetmania (My 2 bedroom is now a 3 bedroom)

Living in a house built in 1948 does not afford you the luxury of great electrical or an abundance of storage.  I have existed for 7 years without closets at the front and back door (although I have rigged up hooks at the back door for obvious reasons) and the closets in the two bedrooms consist of 8' x 34", and I have a closet at the bottom of the basement stairs that has an overpriced organization system in it and that is IT!

I've tried to stick with the rule when one new piece of clothing comes in two have to leave and while that doesn't always happen, Spring and Fall are times I have devoted to "letting go" of some of those items that I may wear again one day!

I've also learned that even though I have this "rule" I need more cabinet storage especially downstairs where I had previously been storing linens next to the work bench - now that I've organized that and moved most of the bed linens into the closet at the bottom of the basement stairs, everything I had in the bottom of THAT closet had to find a home - cabinets incoming!

I have a small third bedroom (if you want to call it that - it's the place I send anyone who wants to rent a bedroom for short periods of time or weekend guests) that could use some cabinetry. I chose simple white IKEA cabinets in a configuration that still allowed me to have the double bed underneath and still have a small bedside table (bedding and bedside table to be blogged in the future).

Here's the Before
You can see half way down the wall is not painted - that's because there used to be a 12" book shelf that spanned from one end of the room to the other.  There was also an opening for a pot bellied stove at one time (likely when the home was originally built) and there was a stack on the roof that was removed a year ago when the roof was repaired.

When I was planning the cabinets from IKEA I was very gently told that the overheads (because they are typically used over fridges) needed to be supported on all three sides - because I was putting two of them together I knew from simple physics that if they were supported by the BEAM between the first and second floors that wouldn't be a problem and the handyman agreed.  He also gave me some really good tips for measuring and drilling the holes for the handles so here are some pictures of what he suggested. 


Gently start by putting the drill bit up against the door and going about 1/4 of the way through door; then take a piece of wood and put it flat behind the door panel;

Open the door, place the piece of scrap wood behind the door and drill all the way through until you hit the scrap piece of wood on the other side. This will ensure a nice clean hole on the opposite side of the cabinet door (you know how you always get schlumpiness and cracks etc. - well that doesn't happen if you use the piece of wood).

I love the handles on the horizontal, I think it looks a bit more updated than just simple knobs or vertical pulls and it matches placement of the handles on the office cabinets upstairs.

Here's the After!
TOTAL COST OF PROJECT $1,029.00 (includes installation)
TOTAL TIME:  2 Days (plus three trips to IKEA to get it right)

Stay tuned for maybe a wallpapered wall and sconce lighting (the plug in kind - remember electrical is limited) . . .  I'm on the hunt!  I'd love to hear your ideas of what you would do!

Saturday 19 January 2013

It's Work Bench Organization 2013

I started to think that if you didn't know me you wouldn't realize I really do have all the tools I need to get some of my projects done.  And even though the large tools stay in the garage, the basement contains mostly everything I need for "fix it" jobs.  Downstairs I go to embark on the sh*t show.  It's been in need of some organization for quite some time and was on my list of things to do but I didn't realize how bad it really was until I started to unravel the piles.

Here's the before!

Now to take stock of what I think I need (container wise) and I head out of the house to the bowels of the earth (the South Side of Edmonton) (to one of my favourite places to shop for containers) as I drove past Canadian Tire there was a big flashing sign . . . Organize for 2013 . . . all containers on sale . . . its a good thing there wasn't anyone behind me because I did an immediate right into the parking lot for a look at what they had . . . SUCCESS . . . six new containers later and I was on my way back home . . . not before touring the entire store to make sure I had everything I needed . . .

I've temporarily set up a pile on the other side of the basement of what I don't want on that shelf and trust me, you really don't want to see picture. . . I have been organizing the tools and supplies all week . . . really why do people keep some of that garbage anyways!

At long last . . . here's the after!

It  feels organized now so I should have no excuses but to get to work . . . I do, however, see a week in my future in the office/sewing room now to do the same thing!


Saturday 12 January 2013

More Lighting Ideas

As I contemplated what to blog this week I thought about another gift certificate I received over the holidays (from +The Artworks http://www.theartworks.ca) . . . another very generous gift.

I had originally gone in to Artworks looking for some small vases because I'm always wanting just "one flower" or a bunch of baby's breath to freshen up the house during the winter blahs and I saw something that looked like lace hanging in the window - I thought now there's an idea - it's probably plastic and can just be squeegied on to the window and when the light shines in it will be so beautiful . . . but it was actually six sheets of lazer cut plated steel that you could hook together any way you wanted!
Hanging in the Window
 

Cut apart and laying at the bottom of some acrylic box displays
 
This is how they came - in a box of six sheets

So now to search out the house to figure out what to do with them . . . I tried covering wine bottles . . . that looked pretty good but not really practical . . . and then thought maybe I could join them all together and make a cylinder shape and use it as a lamp shade for the downstairs bedroom (but decided on the upside down planter hanger instead because the pieces were a bit too flimsy) then back upstairs to the living room - HEY what about THAT lamp shade - they look like the same width as the shade maybe I could hook them on there if they fit!!!

Before
Here's the before!


Well they fit nicely so I took five of them and linked them together and secured them on top by bending over the ends . . .


Add caption
and here's the after!

I LOVE the way this looks in the evening - it also looks pretty good during the day - even my 8 year old niece thought it was pretty cool.

Total Cost to me:  ZERO
Actual cost of supplies:
Lamp - $40.00 (Canadian Tire)
Set of 6 Plated Steel Sheets $89
Time Spent:  Under 1 hour (fiddled around with it until it was perfect)! ! !

Saturday 5 January 2013

Light Fixture (Upside Down Hanging Basket)

The gift giving has ended and the gift card spending has begun.  In spite of the fact I received some fantastic cards, it seems I am always looking for the impossible - well it "seems" that way. It also seems I am always working on a "project" (or something if you want to call it a project or not). 
Before
I live in a house built in 1948 and needless to say it does not contain a lot of what we would call updates in the lighting department. The basement bedroom contains one of those problems that has needed attention for the seven years I have lived here . . . and the bedroom itself will be an ongoing list of projects this year that I will work on, but the first order of business is to take care of the light fixture. Here's a picture of what it started out to look like. . .

One card I received this year was to a place I LOVE +Wellington Gardens and purchased a couple of things but one "something" I specifically went in there to look for was a hanging basket.  You might think it's a bit early for that isn't it (given the fact our Canadian winters won't allow us to really start gardening for another four months) . . . well not for me it wasn't. 

Because I was not interested in hiring an electrician (particularly due to the room only being used for guest/storage purposes and the because budget is almost always limited) I decided to go the route of creativity rather than the route of spending a lot of cashola.  Hence the hanging basket.

I had the notion that if I could take a basket (preferably with some kind of hole in it or one that I could make a hole or opening in it) that would work.  You see I dream and fantasize about what I would do with the basket before I even buy it and then hope it comes to fruition (remember the looking for impossible statement).

So, as I was shopping at Wellington Gardens (outside in the shed in -25 C weather) a sales clerk approached me and asked was I "finding what I was looking for" and we got into a conversation about me always looking for the impossible - I'd found a basket but it was WAY  to heavy for my purposes and how I had dreamed it would all come together so she suggested one that was wrapped with twigs (you've seen them) that I could deconstruct and just use the frame - I settled for that one and walked into another part of the outside area to see if they had their famous mulled wine - and they did . . . I love shopping when wine is involved . . . and she chased me out of the shed and said . . . hey wait . . . I think I found something!  and she HAD! I was excited . . . and there it was - PERFECT!

So with the use of these some other previously purchased hooks, a pair of wire cutters/pliers, an electric drill (ya had to drill the holes because I'm weak in the wrists) and some plugs I found in the very messy work bench (another project coming up) I proceeded with my first project of the year!


Remove the coco liner


and chains


Then measure to evenly space the three holes around the centre of the light fixture and plug the holes with the plastic wall plugs (to fit the screws on the hooks).


Screw in the hooks.


Remove the chains and reclip the hooks to the opposite side (bottom) of the basket and secure them to the hooks
VOILA! Like I said . . .  PERFECT!

I may in the future hang crystals from the bottom or even wrap raw twine in and out to completely cover the shade (or rip fabric in strips and wind it around) but for the time being this is exactly what I had envisioned.

Total cost of project (for me):  ZERO 
Total cost for you:  $10 to 50/basket; $5.00 for hooks and plugs 
Total time spent: ONE HOUR

Well worth it after seven years of dreaming what I could do with that open light fixture.
After - VOILA!