Tuesday 30 April 2013

Flower Curtain Tiebacks

While I was making the slip covered headboard I was inspired by some drapes in a high end design house that had these beautiful organza flowers on them that I simply couldn't afford but coveted!

I started to think that those flowers would be beautiful but really not for the casual summer look I have created for the master bedroom so off on another tangent I go . . . searching the Internet for ideas . . . fabric flowers . . . hey I know I'll make the twisted fabric flowers like the ones I had previously made in a fascinator I wore to the Christmas Party a couple of years ago . . . and again I head off to my favourite fabric store and it's CLOSED . . . damn . . . back home you go, but not before passing a Walmart . . . Oh Oh! ! ! Yes I stopped in because they do carry craft fabric and I needed cotton so I ventured in . . . and I FOUND SOME . . . exactly in the colours I was looking for . . . oh the small things that get me excited . . .


I knew I had some felt at home to adhere the fabric to so started with these supplies:

1.  Scissors
2.  Felt
3.  Fabric
4.  Hot Glue and Gun
5.  Needle and Thread (option)

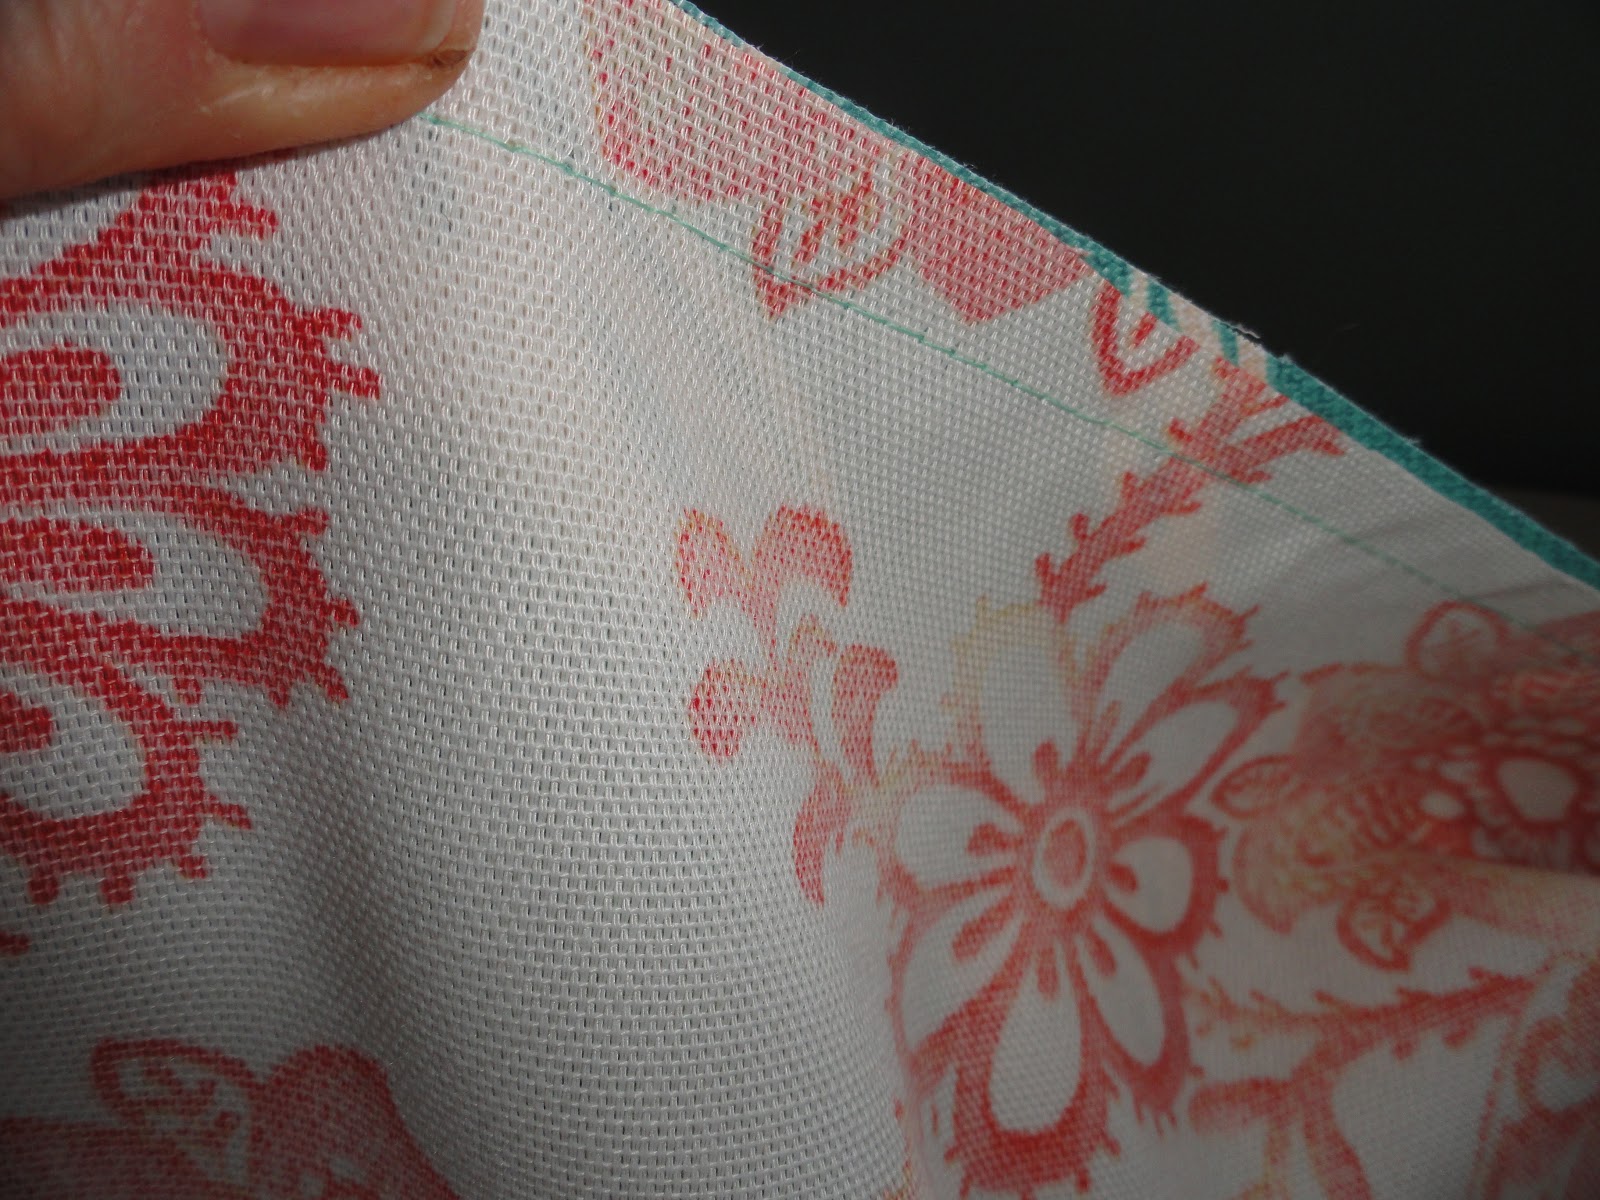
You start with a strip of fabric approximately 15"  x 3"(for large);  12" x 2" (for small) and fold in half (wrong sides together).  NOTE:  There is no need finish off any of the edges - this project is rough cut.  Cut the felt circles approximately 3 1/2 " for the large flowers and 2 1/2" for the smaller ones.

1.  Fold down in at an angle

2.  Put a dab of glue in the centre of the circle of the felt

3.  Attach the first "knot"


4.  Start rolling or folding the fabric either towards or away from yourself - it doesn't matter as long as you are twisting in a circle


5.  Hot glue down as you go

6.  Clip off the excess felt if you have any


7.  Hot glue the end piece (underneath)

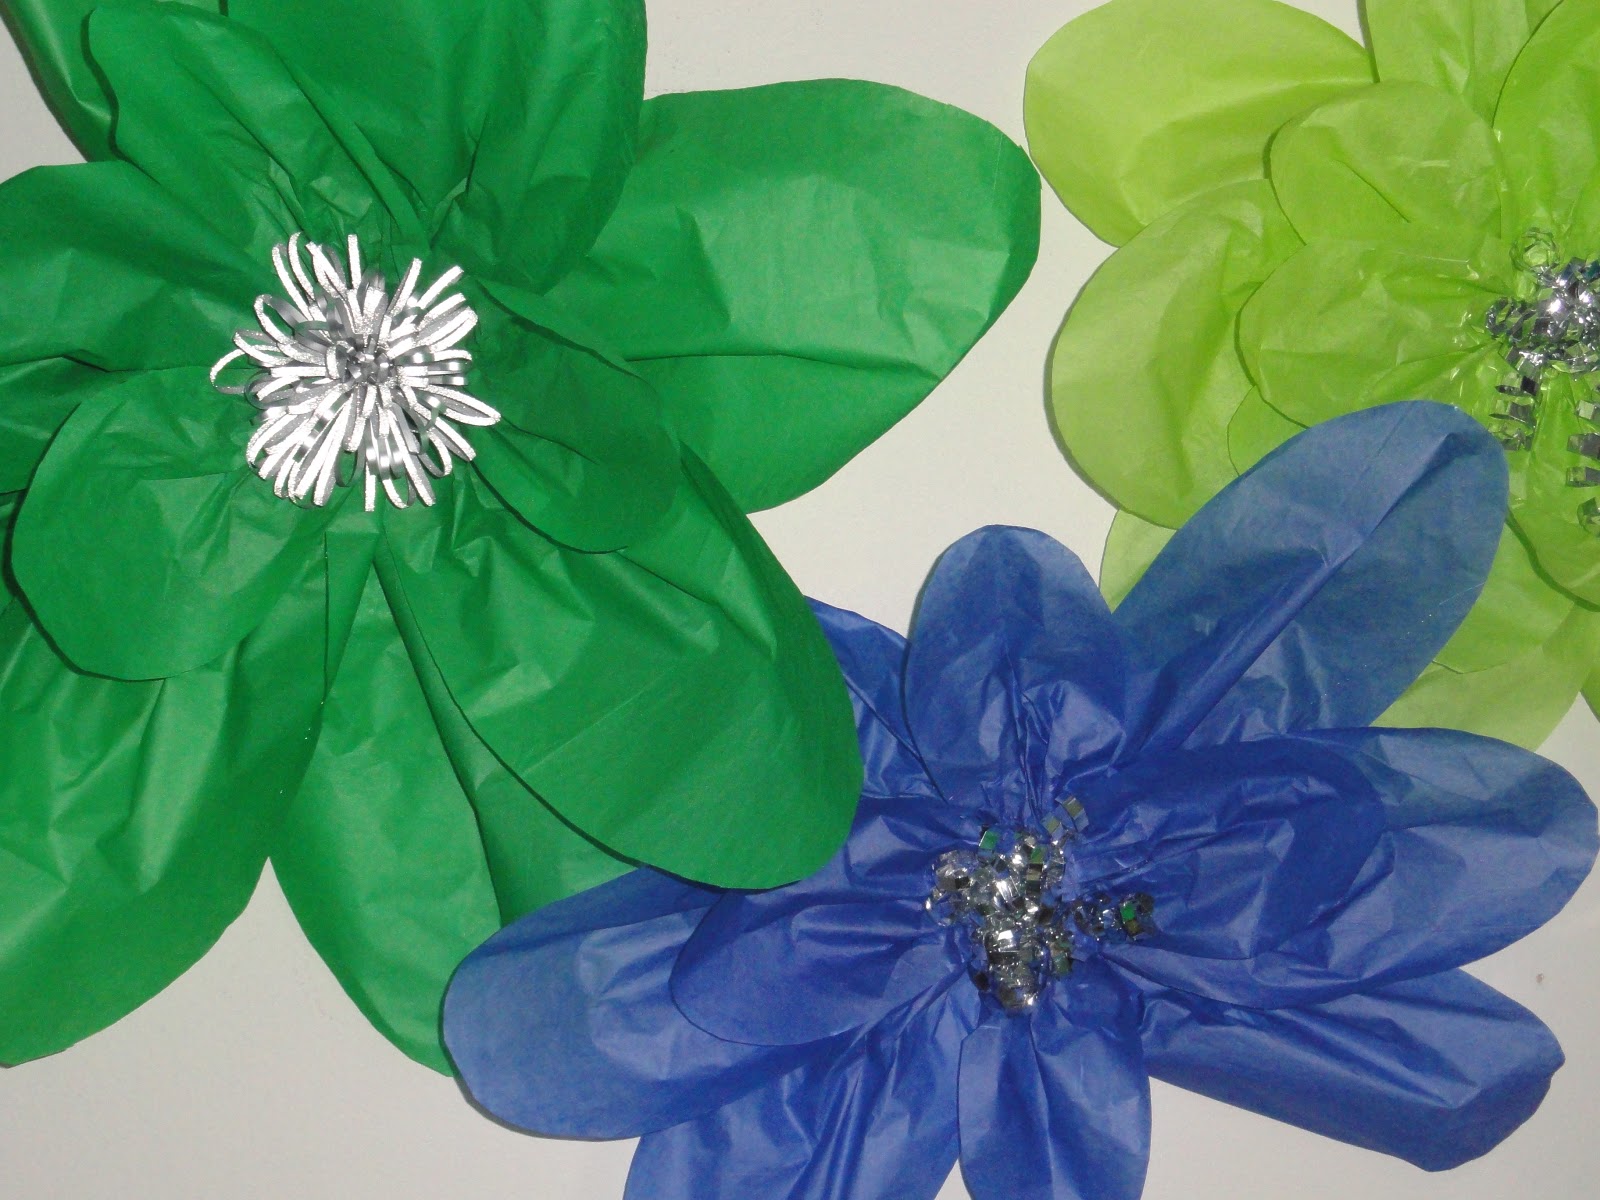
8.  How glue all "flowers" to another piece of felt (cut in a strip) and cut away the excess after everything is glued down.  Attach ties to either end (I glued mine down - you can sew them if you wish)
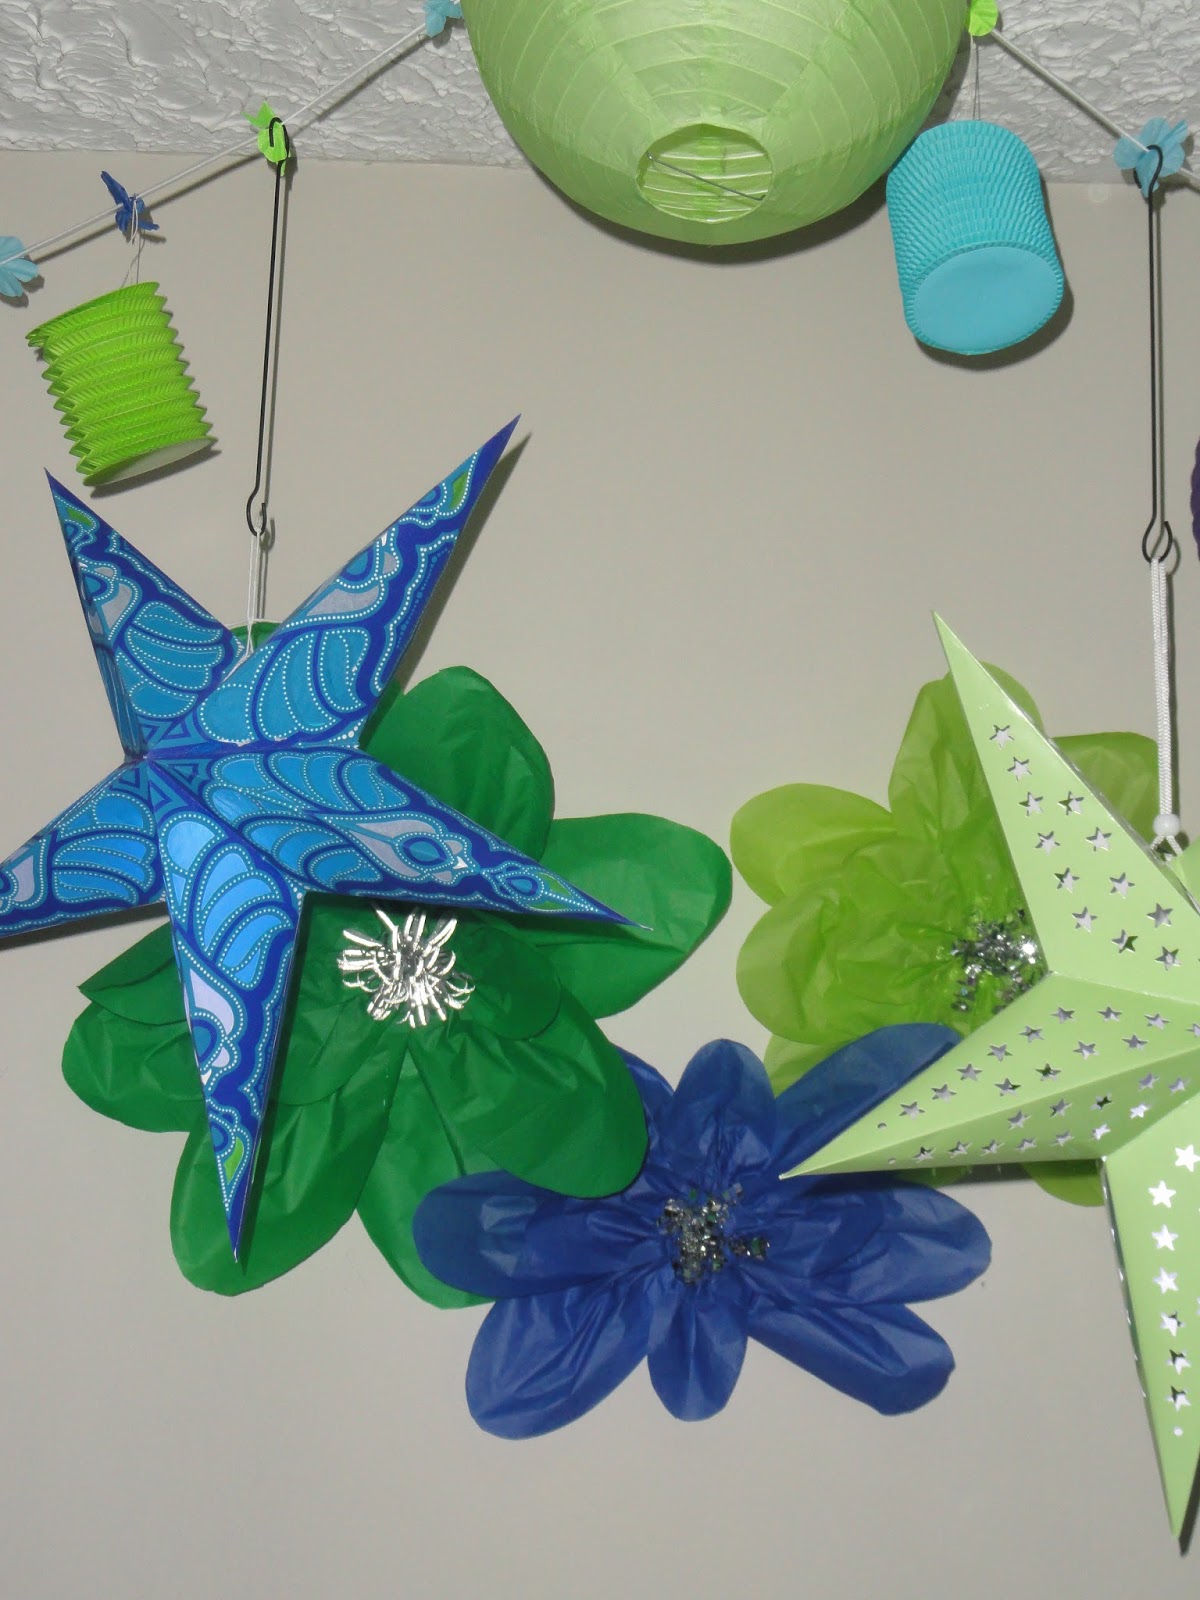
And Voila


TOTAL COST: $13.00 (not including felt and glue - I already had that)
TOTAL TIME:  3 hours (included burning my thumb several times with the hot glue and yes that's why I'm wearing a bandaid) (if you are not picky it could take 2 hours)

Out with the Old ...

It's a sad day when you realize that after trying to get you through just "one more winter" (and I did that for 7 of them) and over 30 years of life has passed that your belts get looser, your bearings have become worn and your life expectancy has reached its limits . . . but I understand old age . . . how I'd love to have had another 30 years with you but alas it's time to say goodbye . . . I really felt bad for you yesterday as you sat on the street in the cold, snow and wind waiting for the new arrival but the inevitable has happened . . .  so out with the old


and in with the new


complete with new venting . . . and hopefully we're warm for another 10 years at least (until the warranty expires)!

The caveat . . . you've gotta love living in the Alberta winter or you'd be considering an air conditioner (not usually required).

TOTAL COST:  Too much to mention
TOTAL TIME:  1 day (but I got the day off too to "supervise")

Monday 29 April 2013

Slipcovered Ottoman (Part 2)

It never fails, when my brother-in-law is out of town my sister spends a lot of time with me (and I LOVE it).  I also love it when I inspire people to do something I've attempted.  After spending the morning with my sister  and dropping off my car at the mechanics to have my snow tires switched out (and it's snowing today) we went for lunch.  Now what . . . "Do you want to help me slip cover my ottoman" she says . . . "why not" . . . so off to our favourite (well my favourite anyways) fabric store . . . she just needed trim.  We decided on two types - something really plain (black cotton piping) and added something that would really give it some punch (black pom poms with beads).  We used the same steps as in the basement bedroom ottoman that I did a few weeks ago.

Here are the pictures.  This ottoman has storage inside so the theory of having a slipcover you can remove easily is stellar!
Before

After

Close-up of the piping AND pom pom trim with beads
The caveat to all of this - I did all the measuring, cutting and sewing - my trusty assistant (my sister) did all of the ironing.

TOTAL COST: Trim and thread $24.15; Fabric - Unsure, you'd have to ask her.
TOTAL TIME: 2 HOURS

Saturday 27 April 2013

Slipcovered Headboard

For the first time last winter I got a "real" headboard (with the rails and end pieces) and while some of you might not think that's exciting . . . to me it was.

I've always wanted a really nice headboard but when I moved into this house 7+ years ago there were way too many other things that needed to be attended to so I opted for a fake wrought iron one that cost somewhere to the tune of $149.00 and that was sufficient . . . until I got it in my head I needed something more substantial.

If you will remember the pictures from the new carpet . . . and here it is (that is a picture of the winter bedding) and the winter bedding is nice but really it is spring and I do change out the bedding in the fall and spring . . .


I had no intention to buy new spring bedding this year (and clearly it was my inspiration) AND because I now have the new headboard I thought covering it for the summer might be a nice touch . . . so off I go to my favourite fabric store, with one of the pillow shams for reference in hand, and after much debate in the "regular" stuff I find myself, once again, in the clearance section. . . oh how I love it there . . . and of course . . . I find EXACTLY what I'm looking for . . . turquoise and orange . . . PERFECT!

Now to make a pattern . . . measure width X height (x2 for front and back) and roughly sketch the side pieces and away I go . . . I had initially wanted piping along the sides but when I had the fabric draped over the headboard during the creative process I kind of liked what it looked like with bands of the orange on the sides so measuring the turquoise (plus 1/2 inch for seams on either side) and adding the band (plus 1/2 inch for seams on either side) PLUS the piece for the middle and off to Bertha I go . . . yes Kenzie had to test out the fabric - doesn't she always . . .

and here some of the pictures in the sewing process:

sew the turqouise to the orange and add lining to the back (no one will ever see it)


cut out the side pieces and sew from bottom to top, all the way around the curve (which was miserable to say the least) and back down the back; serge all seams including the bottom (no hem - not necessary) 

Leave opening in the bottom to slip over the headboard and VOILA


And if that wasn't enough I broke down and purchased new shams and a light blanket to match AND made tie backs for the curtains (check out this weei's bonus blog)!

Here is the finished product:


TOTAL COST:  Headboard Fabric $23.95; Bed Cover and Shams $62.00 (the rest I had from last year.
TOTAL TIME:  4 hours (including measuring and figuring out the fabric pieces)


Friday 19 April 2013

Oh yes I can! ! ! A little electrician in the making!

Almost a year ago I purchased two lights for my front and back door entries - the front door entry has a switch, the back door does not (same as the basement bedroom - it has just a off/on pull).  Therefore, unfortunately, I was informed by my electrician that I couldn't use the second one for the back door and decided to put it on the upstairs landing; and then move the one from there into the office - think I can't . . . think again . . . TURN OFF THE POWER TO THE SOURCE . . . white to white/black to black . . . and follow ALL directions including putting the proper wattage of light bulb in - and DONE!

Remember I live in a house built in 1948 and I have lemon meringue ceiling (which I never intend to get rid of) so it took me quite a bit of work to get it done properly (and YES I had to go up and down the stairs 15 times to get the right screw drivers, saw shims and replace the screws because the ones supplied weren't long enough . . . but I DID IT! and I'm quite proud of myself - it's not my first attempt at installing wired light fixtures but every time I attempt electrical I get nervous so I put it off until I don't have anything else to do and I'm filled with confidence (or stupidity)!

See for yourself!

Office Before


Office After - moved from the upstairs landing
Upstairs Landing After
 TOTAL COST: $29.99 PLUS GST
TOTAL TIME:  1 HOUR - Like I said - it's a lot of running up and down the stairs AGAIN to get the right tools - you'd think I'd learn!'

Friday 12 April 2013

It's Party Time

It's been a while since I entertained in my house.  The last time was in the fall just before my niece had her beautiful baby boy (I call him King Henry) and I hosted her baby shower. 

I decided for this party I would try and incorporate at least one of the same decorations (tissue flowers) and go from there.  The theme - what else - SPRING! While I'm in LOVE with the colour combination red, orange and pink - with just a touch of lime green I thought I'd save that for another occasion and this time go with blues and greens - so here goes!
Toe Slippers for everyone as they arrived!


Tissue paper flowers - super simple - cut in rectangles (different sizes), round or cut to a point on one side, leave straight on the other; pinch the flat side and hot glue it to a cardboard (or in my case a piece of left over craft foam) and attach a loop at the back for hanging.


Paper Lanterns - purchased on-line.  I ordered blue - they sent purple . . . ARGH . . . but because there happened to be a purple stripe in one of the fabrics I chose to keep them!


Table Cloths/Napkins - used the same steps to make these table cloths with the mitred corners but serged the napkins with wooly nylon thread.
Tableware - believe this . . . I had it ALL (except for the paper plates) - just had to dig a bit for some of it (the flower holders are vintage given to me by an old friend who has since passed away - they hold great memories of being out at the Lake); I didn't want to wash plates so purchased the dotted and checked paper ones from the Dollar Store; Although I hate it when you have to drink out of a paper cup though so those were all glass; and of course the shooter glasses - YUM YUM - did they "make" the party . . . yes but not before testing one ahead of time LOL and they "made it to" the party!


Take Home Gifts - I ALWAYS want you to feel special when you go home from one of my parties - This one is no exception - I made simple pots (blue and green of course) and added a small bag of potting soil and a package of seeds wrapped up in cellophane and matching ribbon - WHAT A HIT!


The Food - Layered Shooters, Cold Cucumber Soup and Firecracker Jumbo - I asked everyone to bring an hors dourve as well.

The Flowers - a variety - vintage goblets with carnations and daisies and a fantastic arrangement from my next door neighbour for helping out a couple of days earlier but it matched the decore so I displayed it on my table!


I asked everyone to wear a spring hat or fascinator (here's mine) because there will be a prize.


And here are theirs! 


TOTAL COST: Tissue Paper Flowers - FREE; Paper Lanterns (including the stars and battery powered light inserts) - $40.00; Table Cloths/Napkins - $22.00; Tableware $2.00; Take Home Gifts - $18.63; One humongous hangover from too many shooters!

Beanie Bonnets!

It's been at least 20 years since I picked up a crochet hook and if you can recall in my introductory blog I said it was one of the first things I learned to do as a young girl (outside of school/home crafts) . . .

Every now and again (and it's been less and less these days it seems) my youngest niece and I have Auntie Day - she's the only girl in a family of four boys . . . and I make sure it's JUST her and I.  We've done a LOT of stuff - including one of my favourite things, buying her new shoes (because that's my shtick - and I love the look on her face when I buy them for her) - but one of the others is doing crafts with her. 

Shopping in Walmart the other day (looking for a new bra) (and you might wonder how I ended up in the yarn isle but I did) I started to think about a pom pom carpet I'd promised my niece we would make together, found some yarn AND one of those thingies that you make pom poms with . . . but lo and behold - further distraction and I found a "package" of crochet hooks, some large needles and a book of patterns which looked easy but no price.  Because I'd given all of my knitting needles and hooks to one of my older nieces just last year (and she's using them) I didn't want to appear ungenerous and ask for them back so I inquired at the cash register of the cost and because the package was only $20.00 I bought them. 

I got home and started making pom poms (I didn't want to look stupid in front of my 8 year old niece) and truly disliked the way they looked with the yarn I had chosen (cotton yarn and not a synthetic) so they weren't puffy enough and when I made them full enough and tried to tie them I kept breaking the yarn so I kiboshed that idea . . . the yarn sat for a couple of days before I realized there was a beanie pattern in the book with the crochet hooks (yet one of my other nieces is expecting a baby girl any day now) and I started to make one - here it is - SO cute!


Which inspired me to make three more until my hands hurt!


Here's the little Man in this hat! he's just a tiny baby - three months old!


I'm now on a mission to crochet more (because I have nothing better to do) LOL!

Would you crochet if you knew how?

TOTAL COST:  Yarn $2.00 per Hat/Hooks & Pattern $20.00
TOTAL TIME: 1 HOUR/Hat