
I've tried to stick with the rule when one new piece of clothing comes in two have to leave and while that doesn't always happen, Spring and Fall are times I have devoted to "letting go" of some of those items that I may wear again one day!
I've also learned that even though I have this "rule" I need more cabinet storage especially downstairs where I had previously been storing linens next to the work bench - now that I've organized that and moved most of the bed linens into the closet at the bottom of the basement stairs, everything I had in the bottom of THAT closet had to find a home - cabinets incoming!
I have a small third bedroom (if you want to call it that - it's the place I send anyone who wants to rent a bedroom for short periods of time or weekend guests) that could use some cabinetry. I chose simple white IKEA cabinets in a configuration that still allowed me to have the double bed underneath and still have a small bedside table (bedding and bedside table to be blogged in the future).
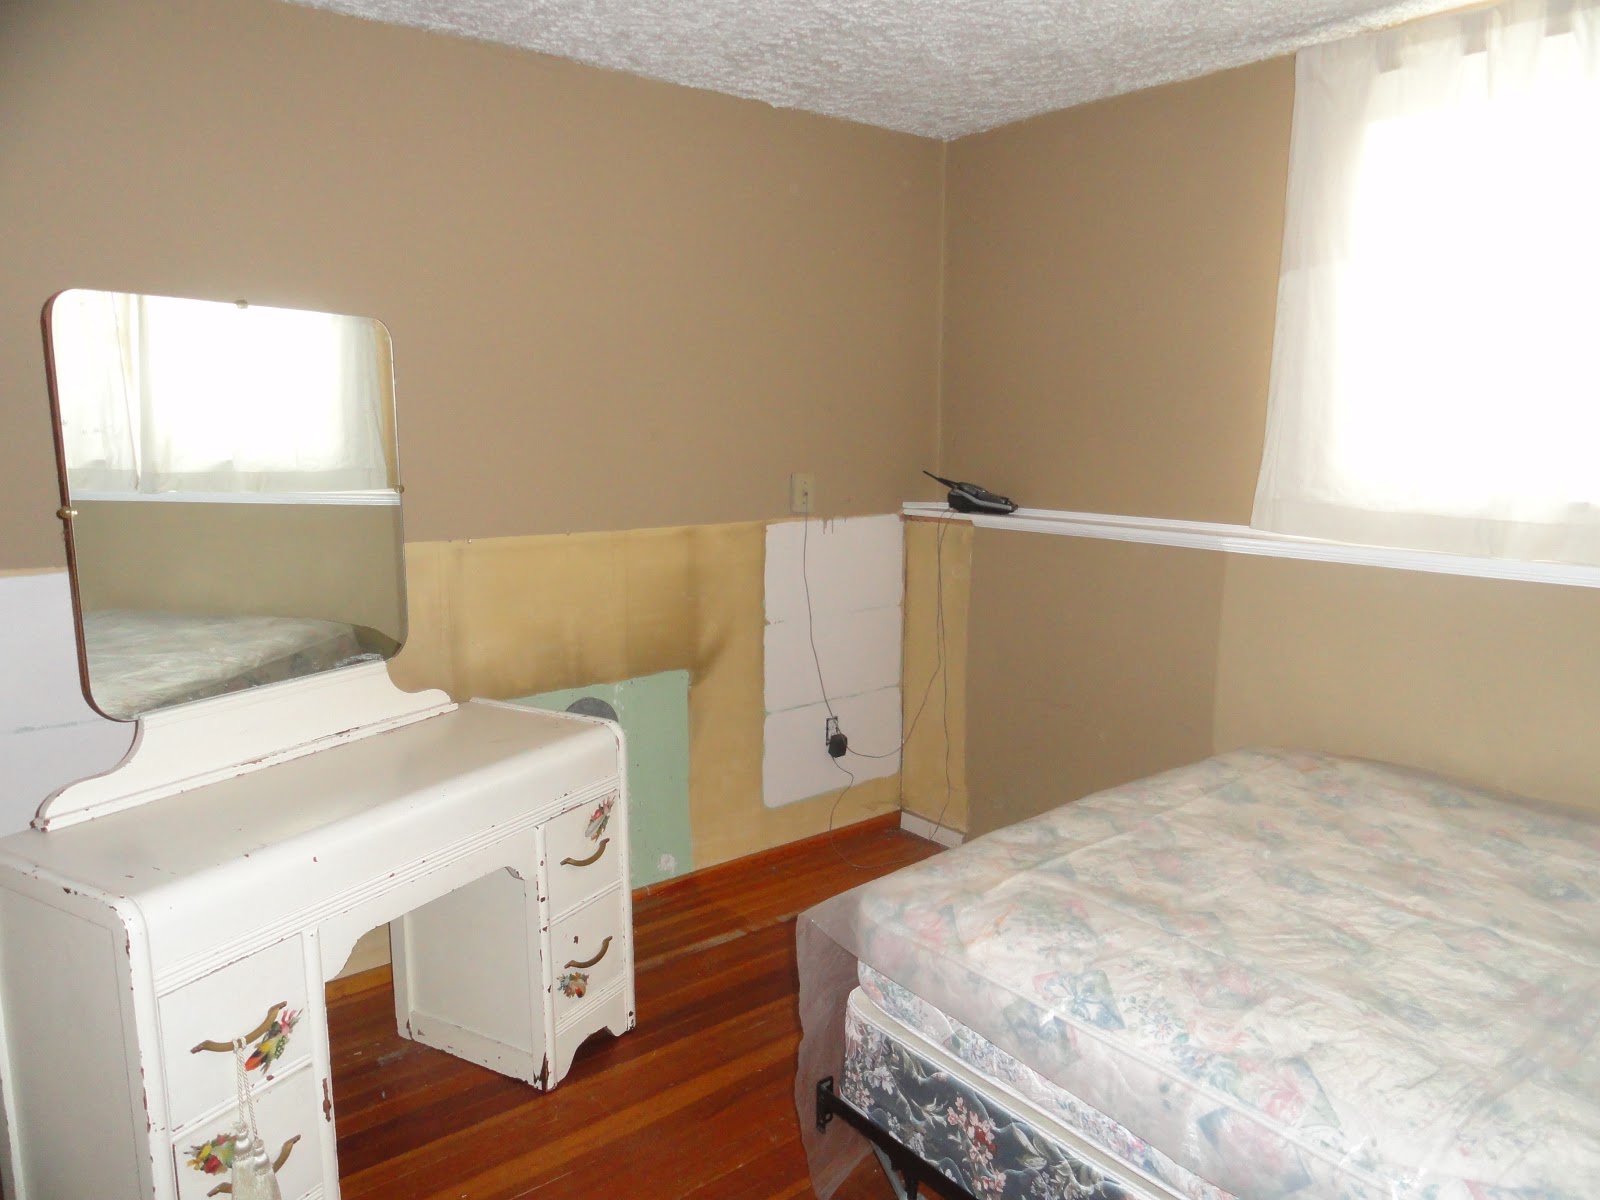 |
| Here's the Before |
When I was planning the cabinets from IKEA I was very gently told that the overheads (because they are typically used over fridges) needed to be supported on all three sides - because I was putting two of them together I knew from simple physics that if they were supported by the BEAM between the first and second floors that wouldn't be a problem and the handyman agreed. He also gave me some really good tips for measuring and drilling the holes for the handles so here are some pictures of what he suggested.

Gently start by putting the drill bit up against the door and going about 1/4 of the way through door; then take a piece of wood and put it flat behind the door panel;

I love the handles on the horizontal, I think it looks a bit more updated than just simple knobs or vertical pulls and it matches placement of the handles on the office cabinets upstairs.
 |
| Here's the After! |
TOTAL TIME: 2 Days (plus three trips to IKEA to get it right)
Stay tuned for maybe a wallpapered wall and sconce lighting (the plug in kind - remember electrical is limited) . . . I'm on the hunt! I'd love to hear your ideas of what you would do!
No comments:
Post a Comment