Showing posts with label Basement Bedroom. Show all posts

Friday, 12 April 2013

It's Party Time

It's been a while since I entertained in my house.  The last time was in the fall just before my niece had her beautiful baby boy (I call him King Henry) and I hosted her baby shower. 

I decided for this party I would try and incorporate at least one of the same decorations (tissue flowers) and go from there.  The theme - what else - SPRING! While I'm in LOVE with the colour combination red, orange and pink - with just a touch of lime green I thought I'd save that for another occasion and this time go with blues and greens - so here goes!
Toe Slippers for everyone as they arrived!


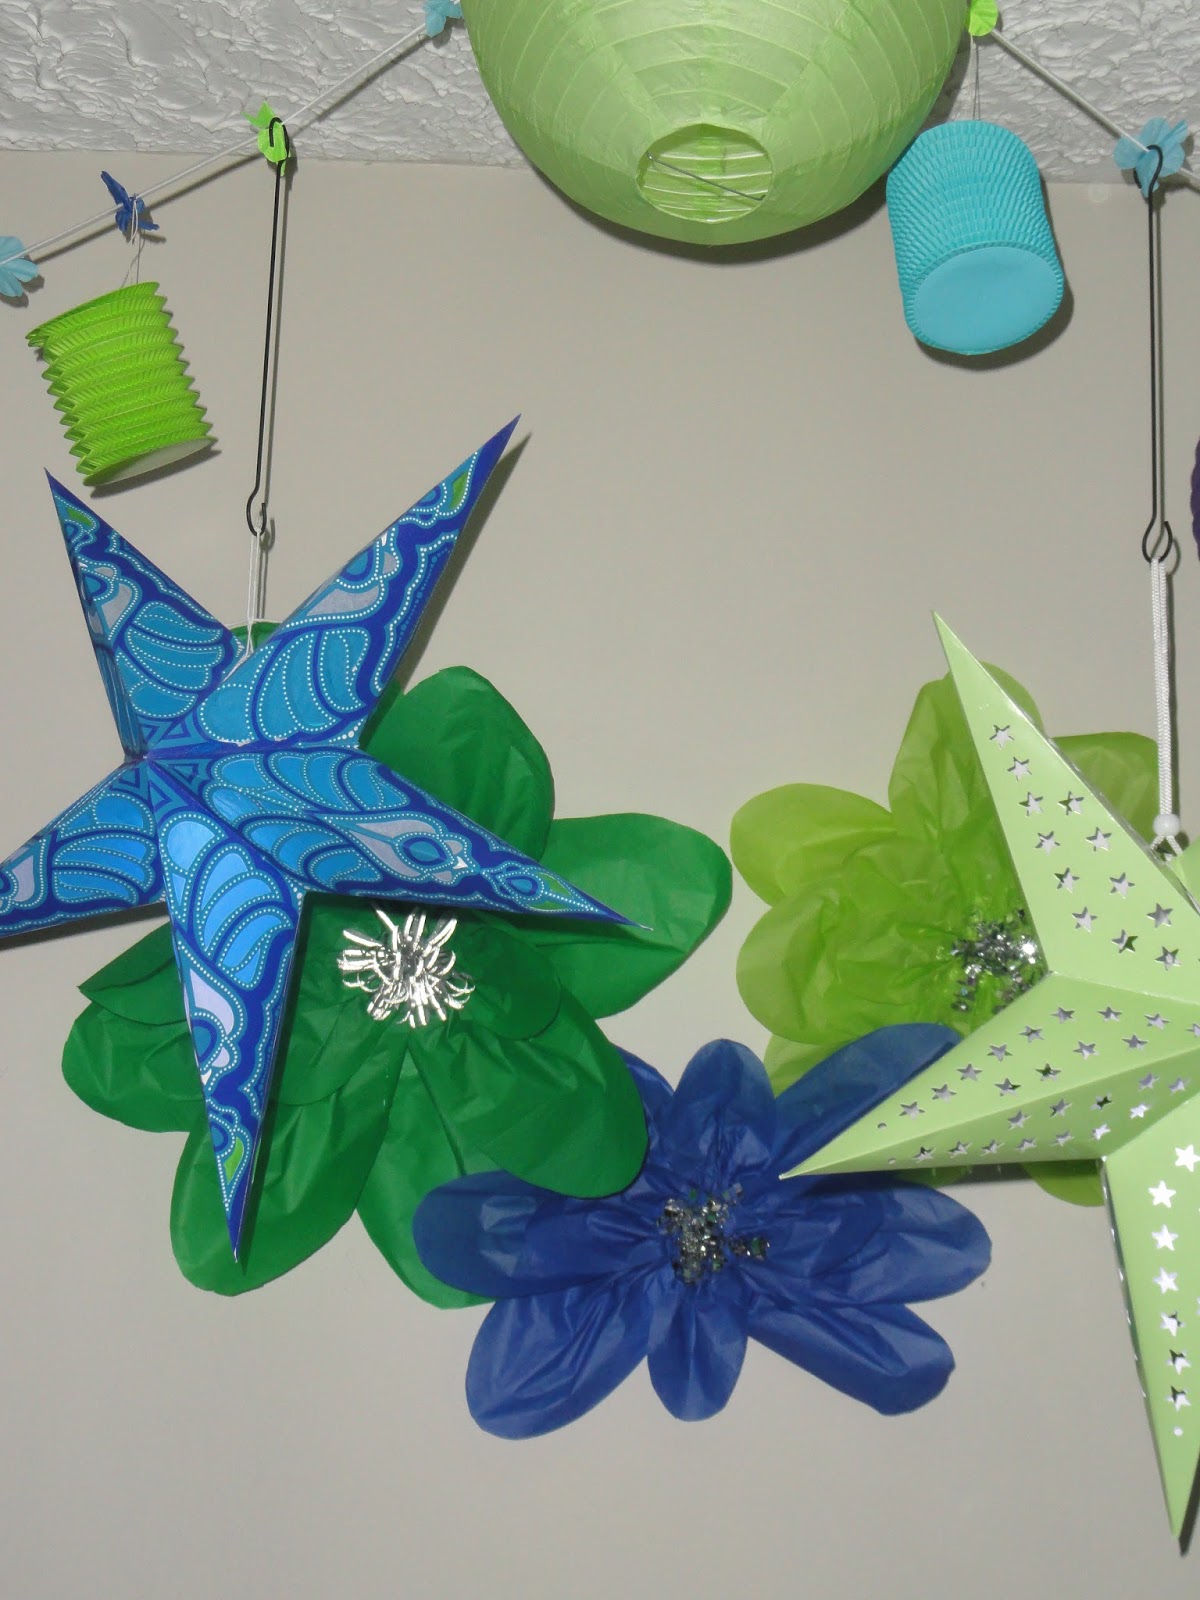
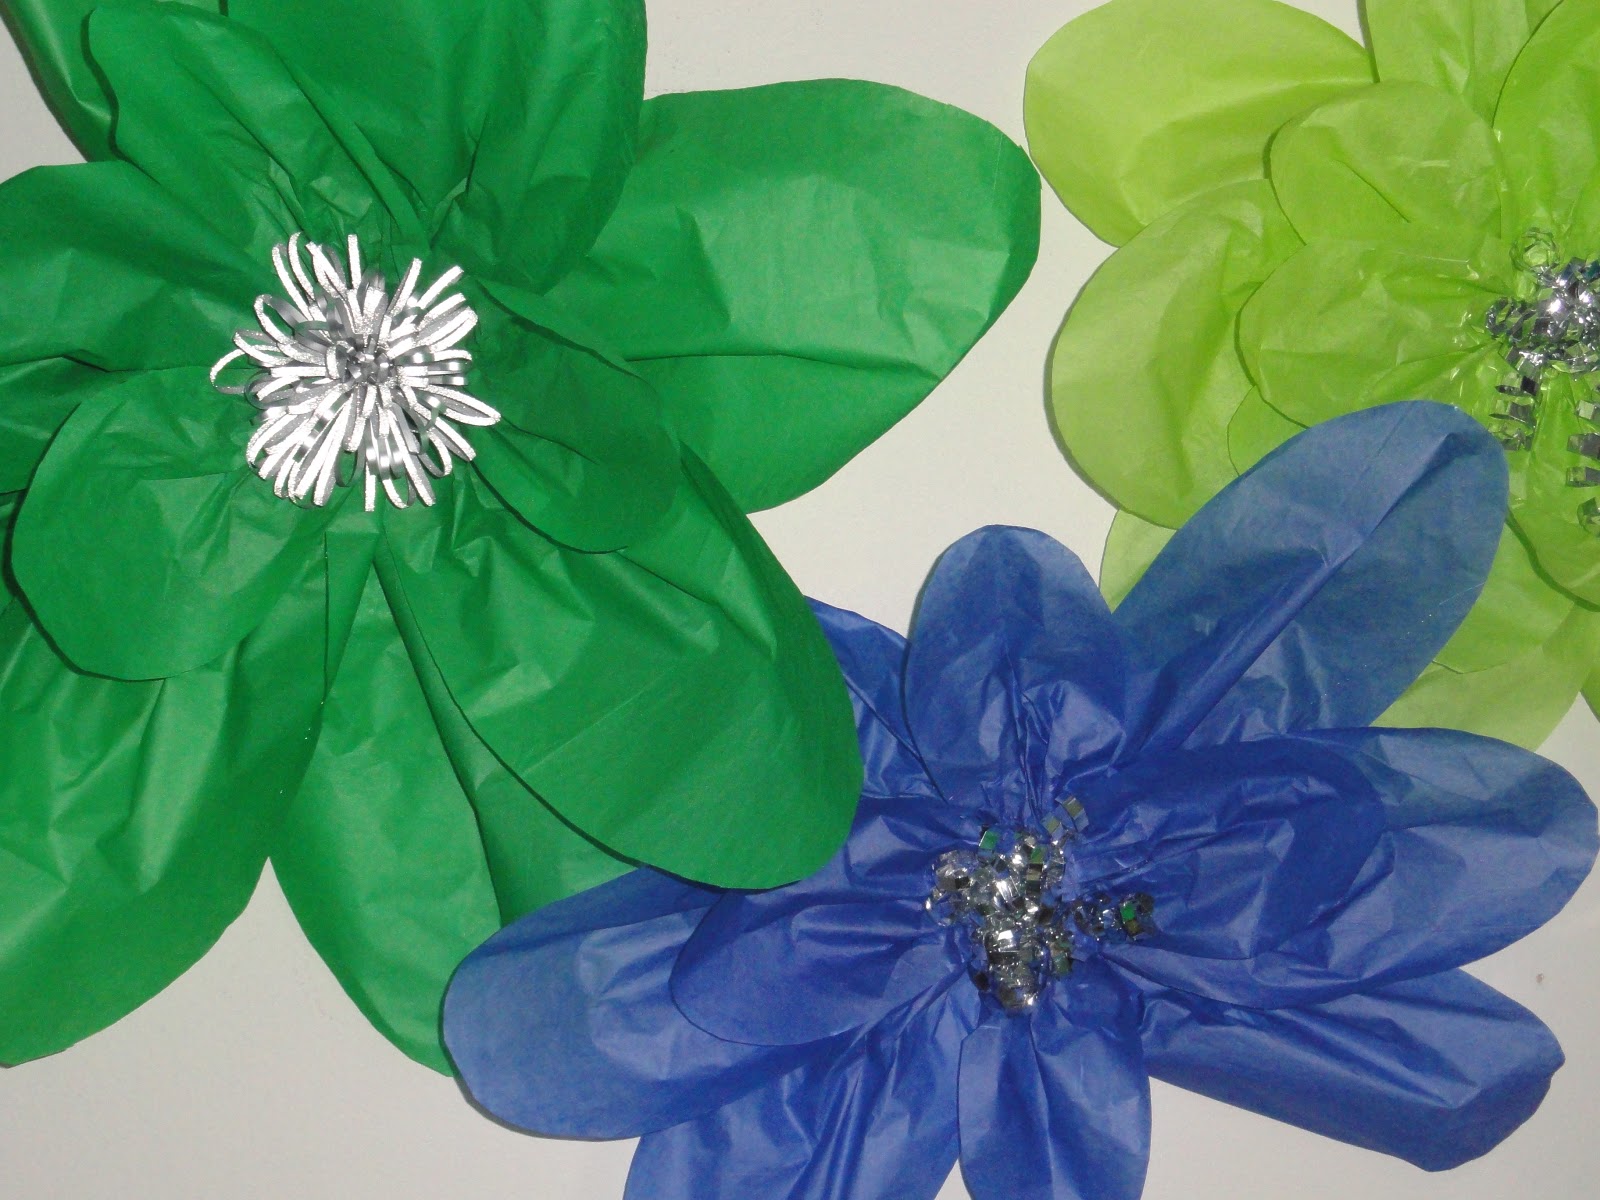
Tissue paper flowers - super simple - cut in rectangles (different sizes), round or cut to a point on one side, leave straight on the other; pinch the flat side and hot glue it to a cardboard (or in my case a piece of left over craft foam) and attach a loop at the back for hanging.


Paper Lanterns - purchased on-line.  I ordered blue - they sent purple . . . ARGH . . . but because there happened to be a purple stripe in one of the fabrics I chose to keep them!


Table Cloths/Napkins - used the same steps to make these table cloths with the mitred corners but serged the napkins with wooly nylon thread.
Tableware - believe this . . . I had it ALL (except for the paper plates) - just had to dig a bit for some of it (the flower holders are vintage given to me by an old friend who has since passed away - they hold great memories of being out at the Lake); I didn't want to wash plates so purchased the dotted and checked paper ones from the Dollar Store; Although I hate it when you have to drink out of a paper cup though so those were all glass; and of course the shooter glasses - YUM YUM - did they "make" the party . . . yes but not before testing one ahead of time LOL and they "made it to" the party!


Take Home Gifts - I ALWAYS want you to feel special when you go home from one of my parties - This one is no exception - I made simple pots (blue and green of course) and added a small bag of potting soil and a package of seeds wrapped up in cellophane and matching ribbon - WHAT A HIT!


The Food - Layered Shooters, Cold Cucumber Soup and Firecracker Jumbo - I asked everyone to bring an hors dourve as well.

The Flowers - a variety - vintage goblets with carnations and daisies and a fantastic arrangement from my next door neighbour for helping out a couple of days earlier but it matched the decore so I displayed it on my table!


I asked everyone to wear a spring hat or fascinator (here's mine) because there will be a prize.


And here are theirs! 


TOTAL COST: Tissue Paper Flowers - FREE; Paper Lanterns (including the stars and battery powered light inserts) - $40.00; Table Cloths/Napkins - $22.00; Tableware $2.00; Take Home Gifts - $18.63; One humongous hangover from too many shooters!

Thursday, 28 March 2013

Bedside Table

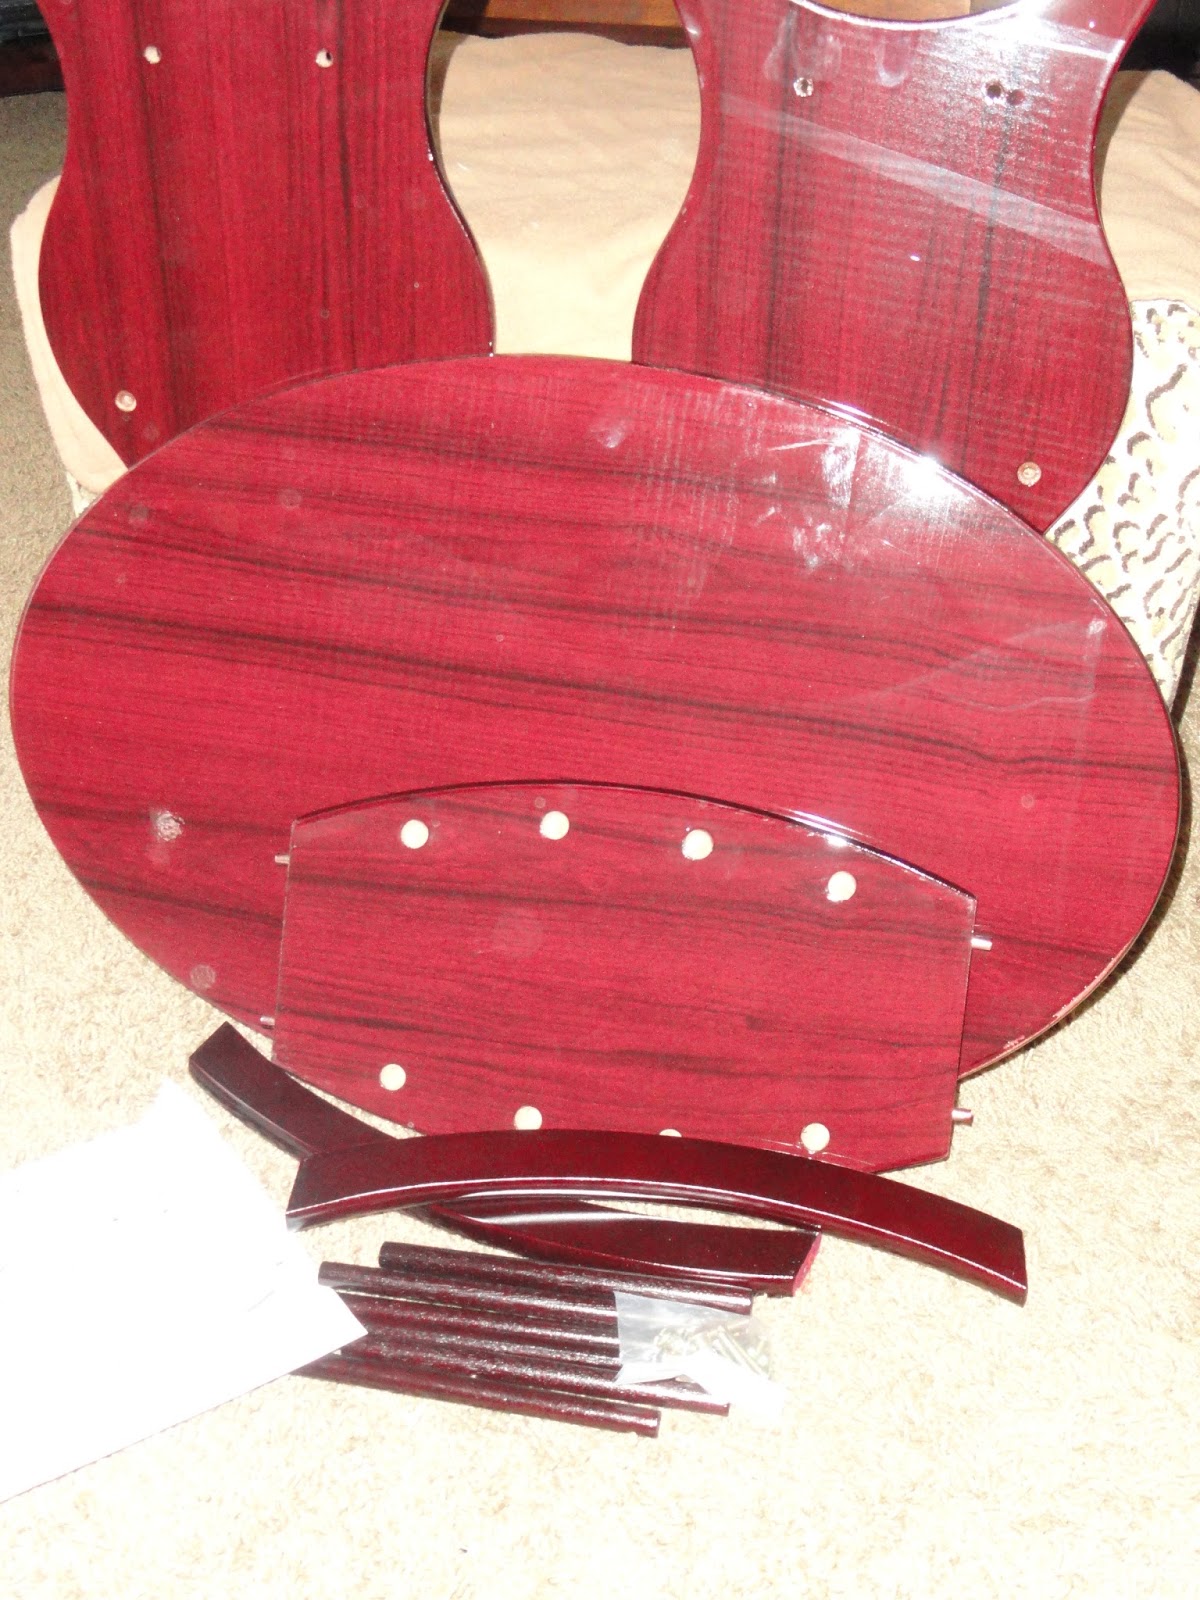
A couple of weeks ago I saw a small bedside table in a flyer for XS Cargo . . . saw a table in there for $15.00 that was the perfect size for the downstairs bedroom . . . didn't go to look at it until this past weekend and it had gone back to its regular price of $19.99 (plus GST) . . . at that price I bought it anyways.

Some assembly required . . .

10 minutes later . . . while I love a bargain - but I just hate it when I get it assembled and in place and I don't like the way it looks - this looked cheap!


It's really not that red!
 

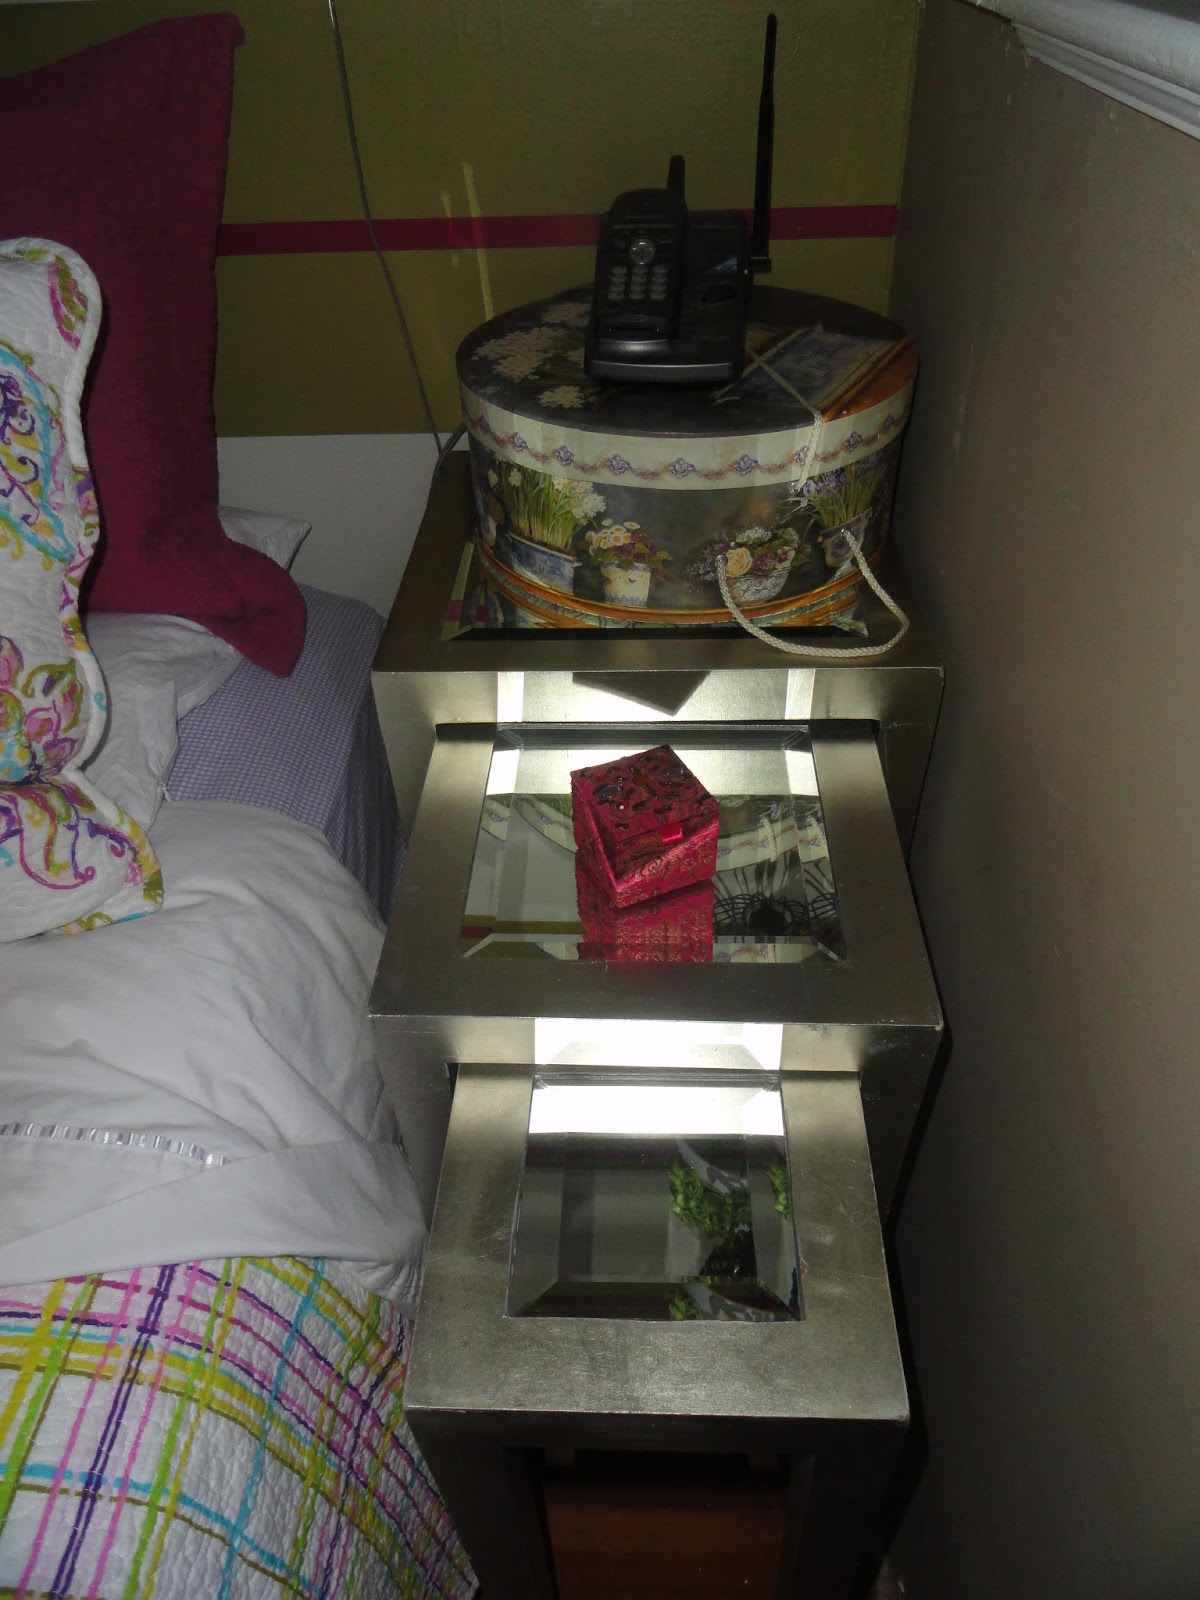
After having a conversation with my daughter about how much I dislike the one I purchased she tells me that she has some tables that might work . . . nesting tables . . . they are burnished silver with glass tops but what the hello - I'll take free . . . and here they are - LOVE them . . . now I can move on to something else!


TOTAL COST:  $19.99 - may gave it away - or brain fart maybe I'll paint it and like it better and put it somewhere else you never know - silver burnished ones FREE (Thanks again Kristen)
TOTAL TIME: 12 MINUTES; to assemble the first one and replace it with the nesting tables! YAHOO!

Lighting (Mood/Ambient)

The balance KILLS me EVERY TIME!  That's when I know it's not "done"  . . . now what do I do with THAT empty corner?  I know . . . how about a couple of hanging t-light holders - only upgraded!

When I was shopping for the green and pink fabric for the drapes in this room I saw an outdoor lantern type t-light holder in the window of my favourite fabric store . . . I wasn't tall enough to reach them . . . and it was "sale weekend" so it was super busy in there . . . BUT they were 65% off the regular price so Can you get one down for me? and they do! "it's good" I say to myself but, it isn't "enough" .  What if I were to add ribbon to it or OMG another scathing brilliant idea . . . add a lamp shade . . . ding ding ding ding!!!!!! 

The thinking cap is on and the creative juices are flowing . . . I ask myself . . . what inspires you with respect to lamp shades . . . oh I LOVE the ones with flowers on them . . . can I make some . . . what do I have . . . organza ribbon . . . Google flowers from organza and voila a tutorial on YouTube . . . but after watching the first one being made I don't really like them . . . three YouTube videos later and I see one that is in three parts (thanks to +Bethany Kartchner).  They are GORGEOUS when completed and I have enough Satin fabric to make two, somewhere in my arsenal of buttons I have a couple of vintage buttons that would be perfect AND I can wrap the Organza ribbon around the top of the lamp shade . . .

Here's how I came up with the final product.

Ribbon on Lamp Shade

Poke holes through the top of the lamp shade with an awl about 3/8" apart


Run ribbon through the first hole (leaving a bit of an end so you can glue down later), loop around and run through the second hole until you get to the end (which is actually where you started). 


Cut the ribbon just enough so it can be glued down to the starter piece.

How to make the Flowers

http://www.youtube.com/watch?v=U918ZjtBNr4


Attach the vintage buttons


Affix the flowers to the lamp shade with hot glue


How to join the Lantern to the Lamp Shade

Run the chain from the lantern through the hole in the lamp shade

Measure the chain and cut it to the desired length

Screw in a light weight hook underneath the cabinets - I used two - one for the unique Lamp Shade/Lantern and one for a T-light holder (that I moved from my master bedroom that really didn't match in that room any more)

Insert battery operated t-light candles

And . . .  drum roll please . . . here it is . . . this room is really shaping up to be fantastic!


TOTAL COST:  $24.72
Lantern $9.93; T-lights $1.05; Organza Ribbon $2.20; Lamp Shade $11.54
Vintage Buttons: FREE; Beaded Candle Holder: FREE (took it out of another room)
TOTAL TIME:  1 Hour

Friday, 15 March 2013

Well that didn't last long . . . more paint!

I hate it when I get something done and I think . . . wow . . . that looks fantastic . . . and then I open up a magazine and see something I'd LOVE to have done . . . so that's exactly what I did . . . repainted the wall in the basement bedroom.

I was inspired when I opened the current +Style at Home Magazine and saw how many rooms were painted with striped walls (both horizontal and verticle) . . . Page 70 "tickled PINK, Page 72 "mellow YELLOW", Page 100 "electric eclectic"with the turquoise blue stripes . . . turn over a few more pages (page 112) and "miami spice" . . . and this one was the one that I modelled my room after.

Here's the Before - remember it's only a few two short weeks ago!


Here's the After


I used a random pattern and a laser level to get all the stripes perfect - now I don't feel like I need a headboard in such a hurry.  I truly have ran down the stairs about 20 times today just to admire it!  Here are the simple steps.
Random stripes using laser level - this one is fantastic - it sticks to the wall so you don't need two people

Paint all stripes - I put X's on the places where I wanted it to stay green; before the paint completely dries take the tape off

I did a bit of touch up (well, OK, I did quite a bit of touch up because I'm a really sloppy painter) but I'm really pleased with the results.

TOTAL COST: FREE - I had all the paint, tape and brushes on hand
TOTAL TIME: 2.5 HOURS

Friday, 8 March 2013

and a Footstool to match . . .

There was just enough fabric left over to make a slipcover for an old footstool and here's the Before (really doesn't look horrible but I'm sick of it)

Before


Measure top and sides and cut all five pieces of fabric 1/2" on ALL SIDES larger than measured; cut piping strip equal to the entire rectangle PLUS three inches.  Cut four pieces the Length by 7" for the cheater pleats.
Sew Piping to right side of fabric overlapping at the end

These are the sides - sew on three sides, clip corners,  flip right side out and press flat

Sew all four sides as close to the piping as possible

Sew all four cheater pleats down one side and open so the seam is in the centre.  Sew the bottom closed.  Turn inside out and press flat.  This is the same concept as the pink bands for the bows on the curtains in the last blog.


Attach the fake cheater pleats on all four corners


Serge so slipcover doesn't fray


VOILA

I can easily remove the slipcover and have it as it originally looked!  And yes, that's Kenzie in the bottom left hand corner - she follows me everywhere! 

This room is just shaping up to becoming one of my favourite . . . believe this . . . I'm going to change the painted wall behind the bed - stay tuned!

TOTAL COST:  ZERO (left over fabric from the curtains, left over lining and left over cording from another project)
TOTAL TIME:  3.5 HOURS

Friday, 1 March 2013

Curtains in Pink and Green - yummy!

I mentioned in a previous blog that I loved the combination of Pink and Green.  When I was contemplating new curtains for the guest room (the one with the new cabinets) I considered simple white linen but shyed away from that - it's would have been a safe alternative but WAY too boring for me - I wanted this room to be a happy room and it's shaping out to be just that with the bedding and feature green wall - and after looking closer at the bedding I discovered I actually could do Pink and Green just needed to find the right fabric.  It had to be something fairly "weighty" so that it hung propery and not too heavy because I knew they were going to be lined (I don't like it when you can see coloured curtains from the outside so I line all of my drapes - or put roller blinds on the windows).

I am also almost always on the hunt for that special something that is not at regular price . . . you know it's the same thing on sale that it was at regular price so why would you pay the regular price when you don't have to . . .  I do a lot of poking around when I'm looking for fabric - I particularly LOVE shopping in the bargain wall at Fabricland . . . sometimes I don't find anything but this day I found exactly what I was looking for - a different shade of green from the wall but that's o.k. - same family . . . and the pink . . . well it's kind of a raspberry pink and that's o.k. too . . . I chose something with a non competing pattern and got to work.

Here's the before
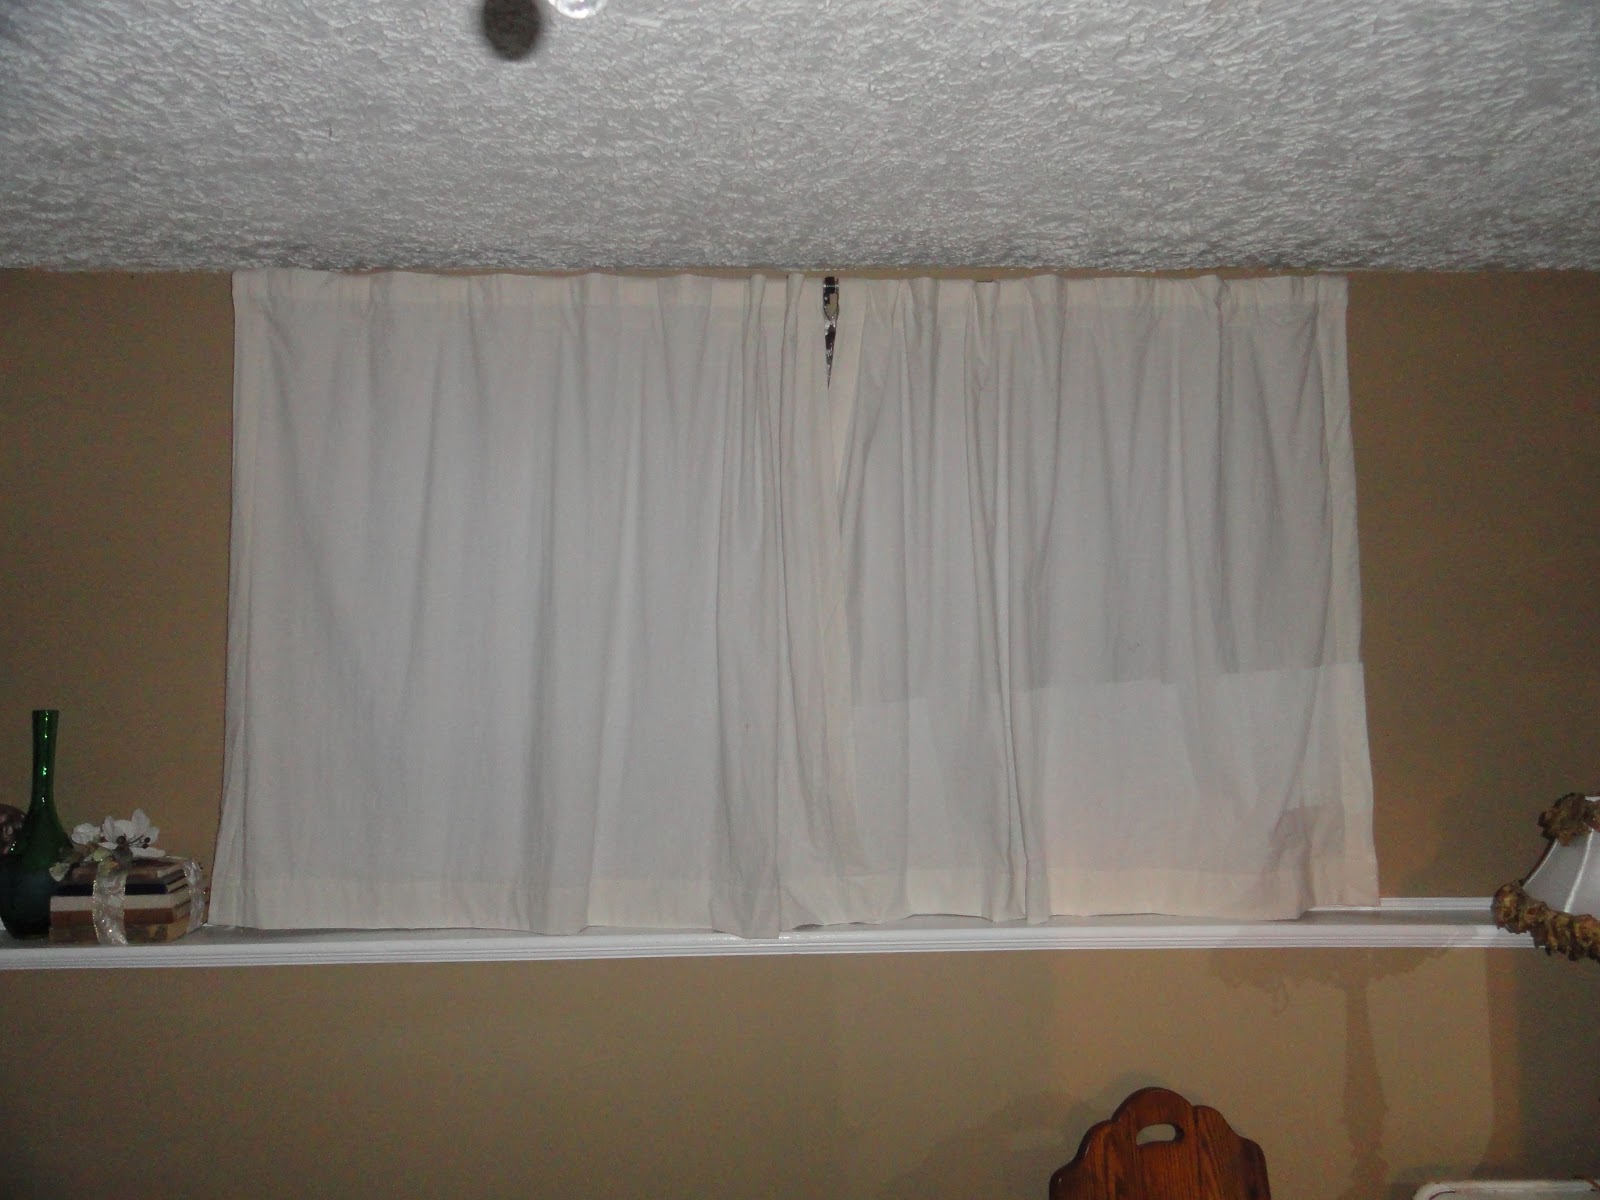
 Boring back-tab cream coloured linen-look curtains that were in the house when I moved in 7 years ago - they were actually floor length and sat in another window, cut them off (because of the exterior wall ledge) and that's how they have sat for 7 years! again - pretty boring . . .

Measuring the window and coming up with a plan was kind of already there (in my head) - I wanted something very simple and flat but when opened or folded up it would look interesting (because the neighbour (an old dodgy guy) has a window facing my house so the curtains are almost always closed).

I purchase my lining/sheeting 10 yards at a time when it's on sale so I always have it on hand - I use it for EVERYTHING I am lining and yes I had enough to do this project and a couple more!

First I sew the "ribbons".
 

Open up the fabric and fold so seam is now in the centre and sew 1/2 " seams

Clip the corners
 

Press seam flat

I told you she wants to sit on EVERYTHING I sew


Measure the window and add five inches to EACH side (2" extra to go outside the window trim, 2" to compensate for the back and 1" extra to compensate for the seams), two extra on the TOP and three extra inches on the BOTTOM (for the hem) 


Sew the lining to the fabric

Press side seams flat

Turn over two inches and press again


Turn over to the back and stitch both ribbons down (1/2")


Hem top and bottom to desired length
Leave an opening in the top for all three brackets (otherwise they won't lay flat once you put them through the rods)

Sew a channel for the rod to go through; then stitch the front ribbon from the TOP seam (leaving opening to run rod through)

Run Rod through opening - here they are Closed

And here they are Open!
TOTAL COST OF PROJECT: $61.58
TOTAL TIME:  4.5 HOURS