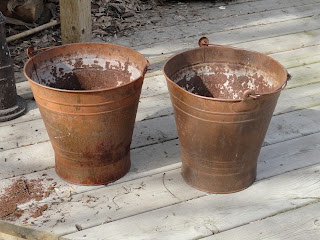
Here's my inspiration
OK so I didn't quite make mine look like this but I tried.
Step one: find some pots and get your supplies in order - check
Step two: take the bottoms out of the pots - check (because putting them upside down was NOT going to work because they were so weathered and destroyed)
Step three: start poking holes in the sides of the pots (check) . . . OOPS no check - once I started punching holes in the sides in the spots where they were really worn out they just disintegrated . . . so . . . on to . . .
Step four: cut the bottom half off now because they are rotten - didn't get a picture of that because I was mad now that I'd ruined it . . . well I thought I'd ruined it . . .
Step five: I know, I've got some rope in the basement I can silicone to the bottoms.
Step six: tie knots in the ends and apply with silicone (temporarily hold to the pot with clothes pins)
Step seven: hang outdoor solar powered light bulbs on the hooks and then
Step eight: hang the pots on the hooks
Step nine: wait for night light - pull string - and VOILA - ok I needed it to be a bit darker before i took the pic but I was tired and wanted to go to bed! ! !
Proof that even creative people make ugly things - NEXT!
TOTAL COST: $7.00/BULB - the rest I had in the basement/garage/house
TOTAL TIME: 2 HOURS (included a 15 minute trip to Canadian tire for the bulbs)


No comments:
Post a Comment